How was everyone's Christmas this year? I hope filled with overflowing joy of our Savior, our family and our love! This year was so much fun to experience Christmas day, as we have two little ones to join in the excitement with. Plus, I love that my daughter LOVED the Advent Calendar I made for her, always anxious to get her *chocolate* and for her daddy to read each verse.
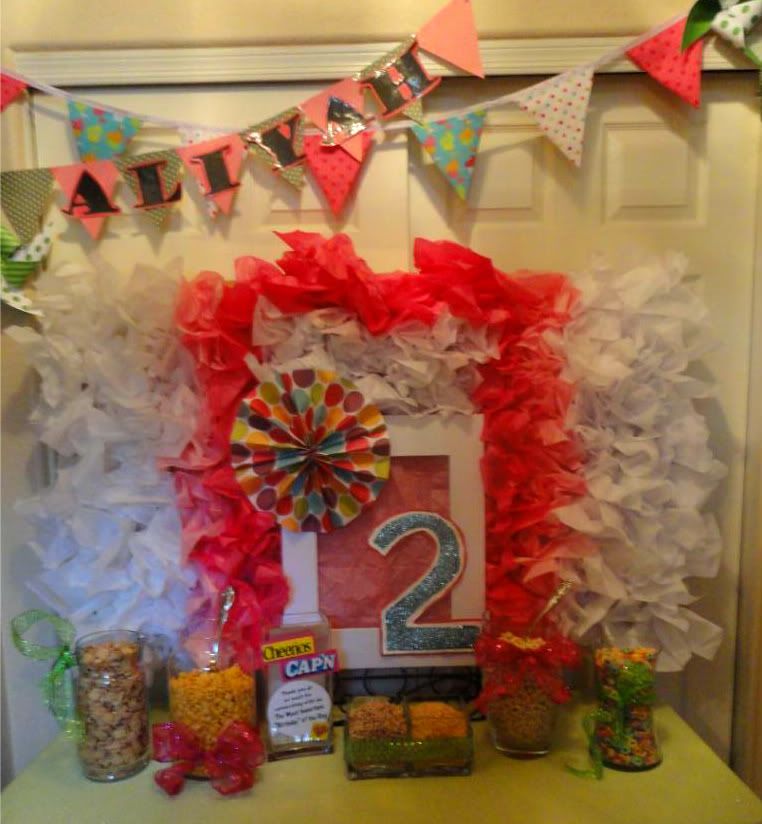
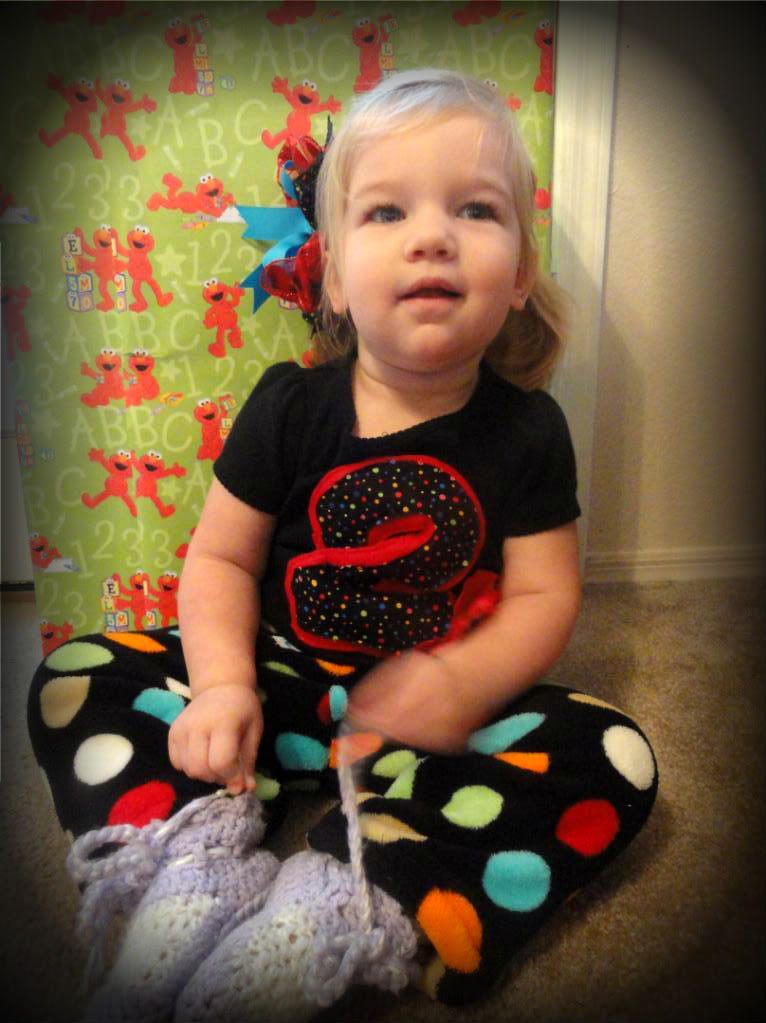
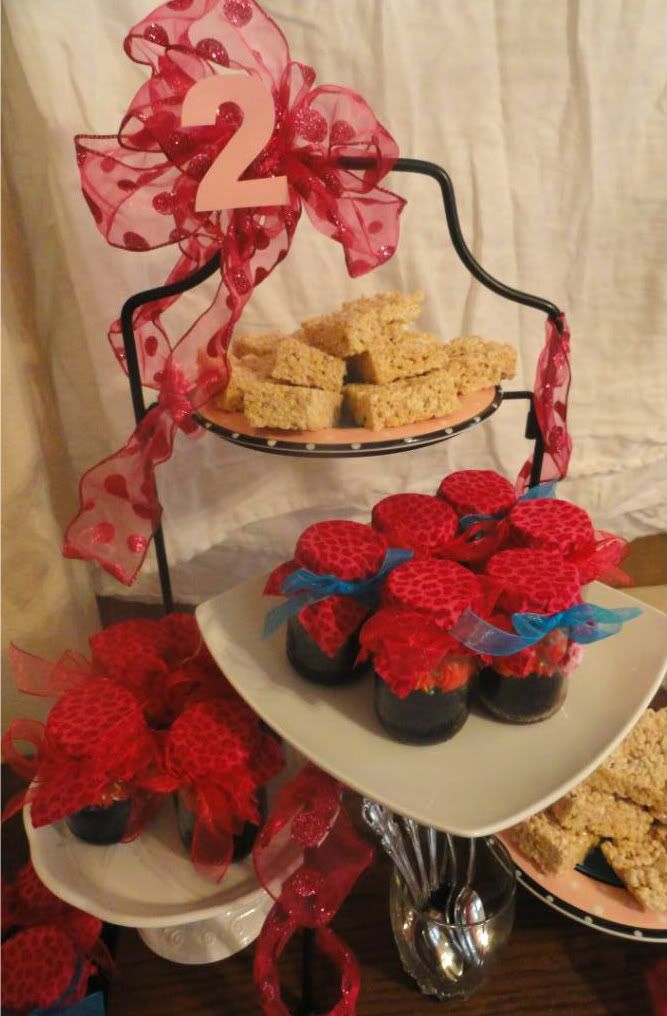
We also had the excitement of celebrating my daughters 2nd birthday, which is on the 23rd of December. She is such a character and I cannot wait to see what this year has in store for us!
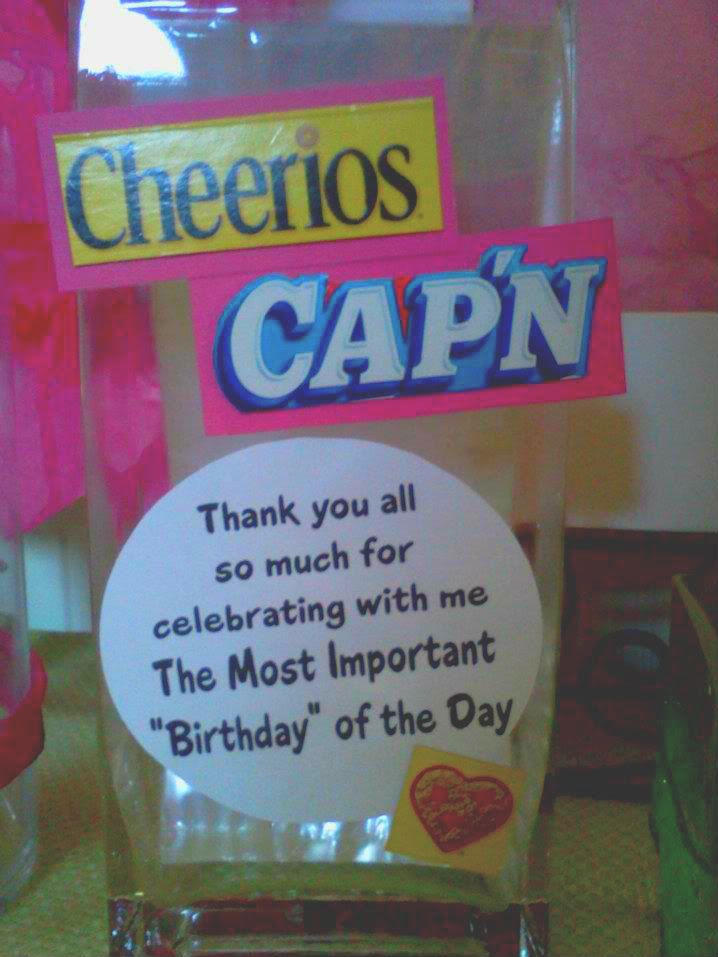
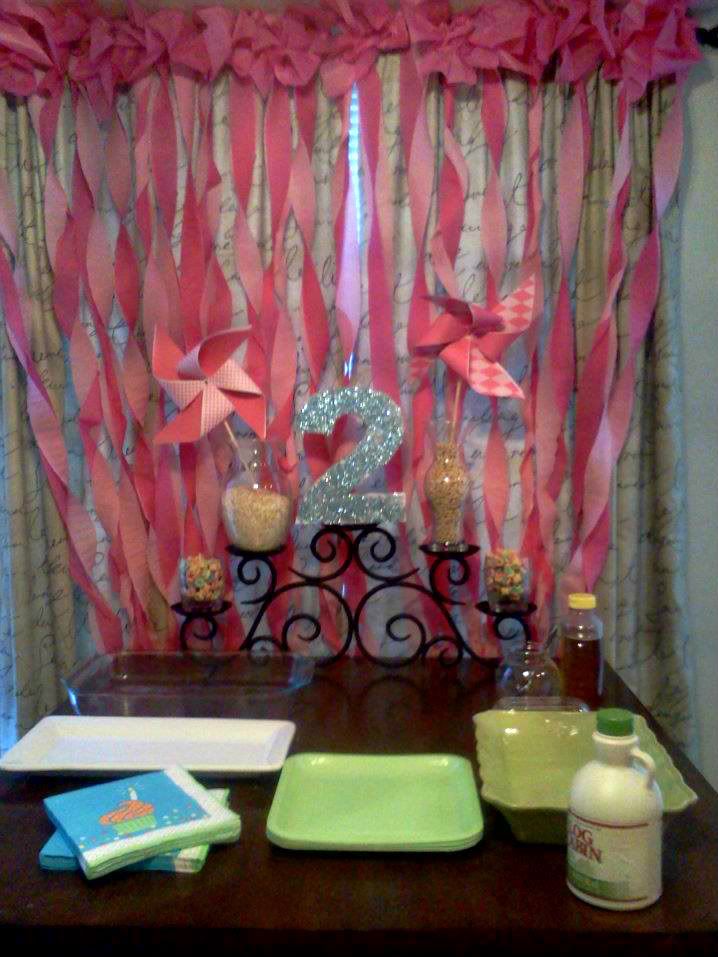
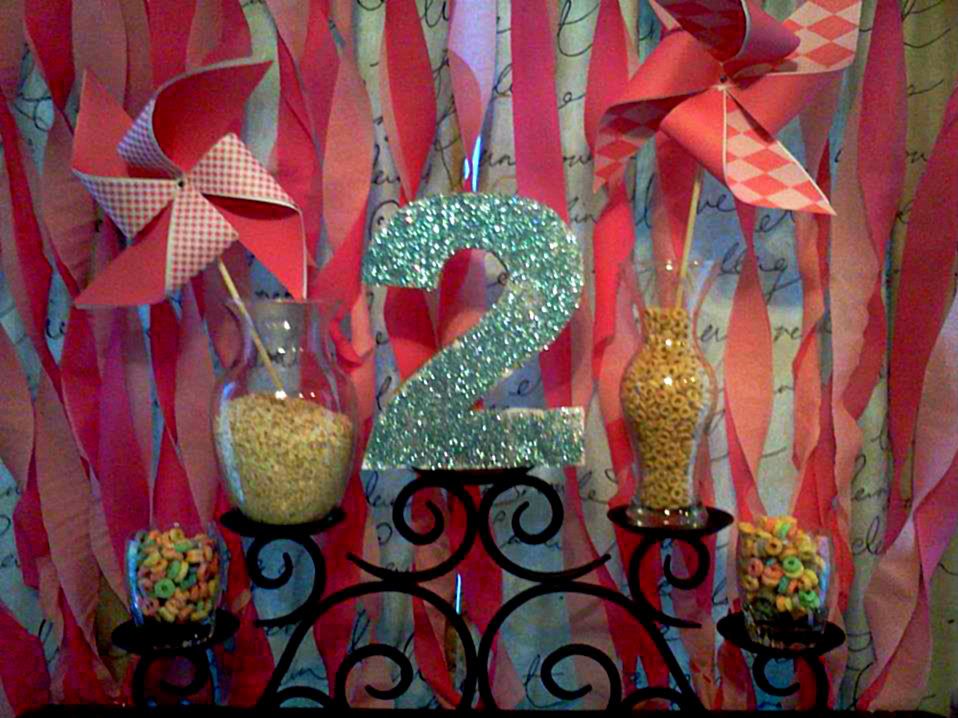
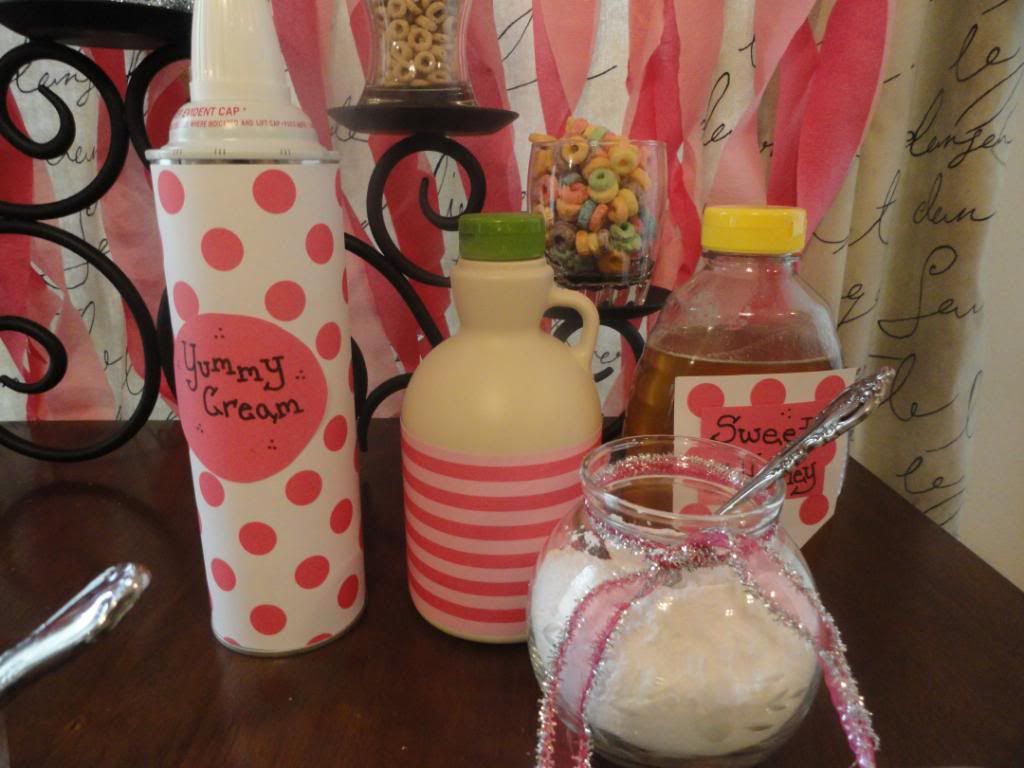
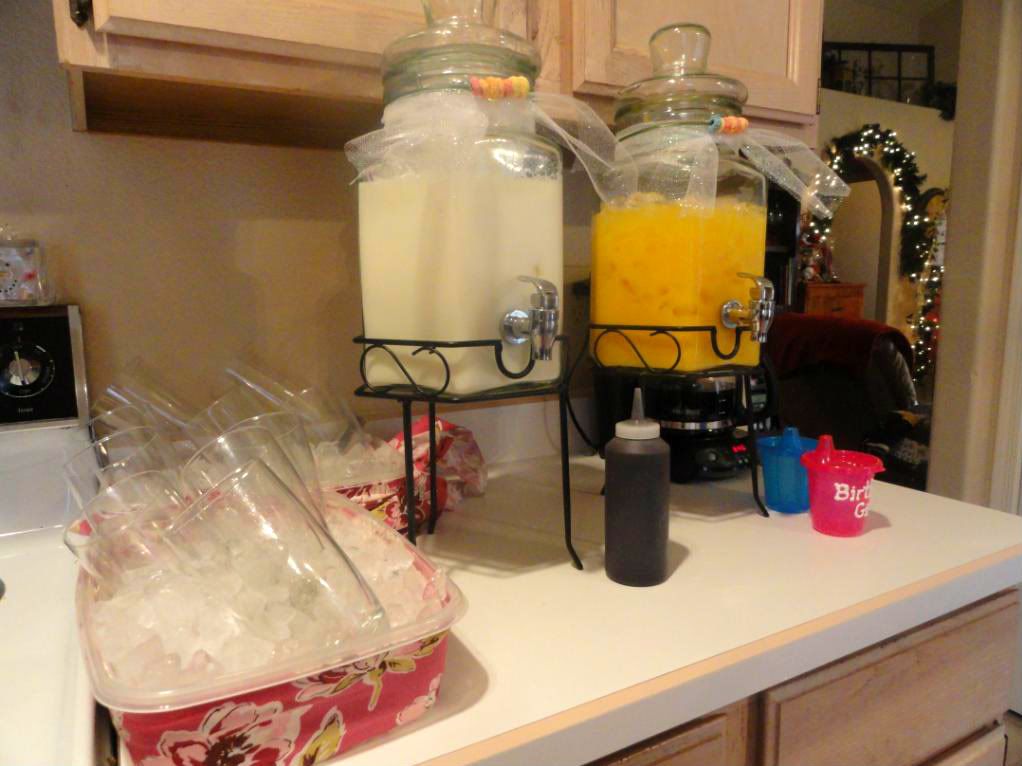
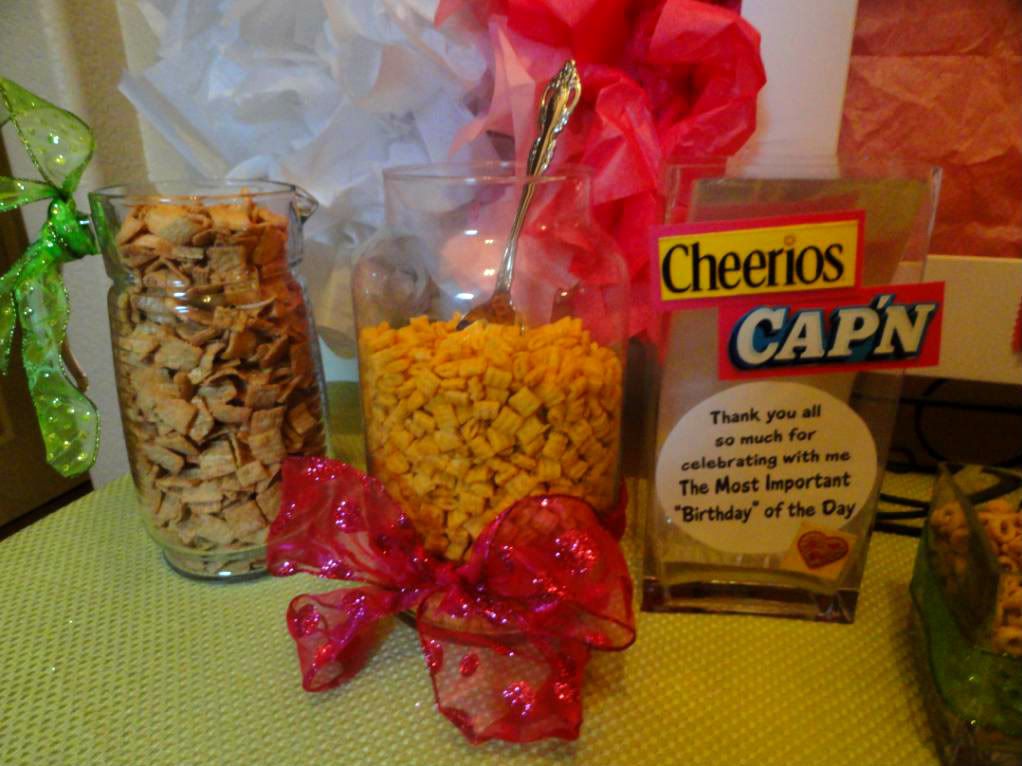
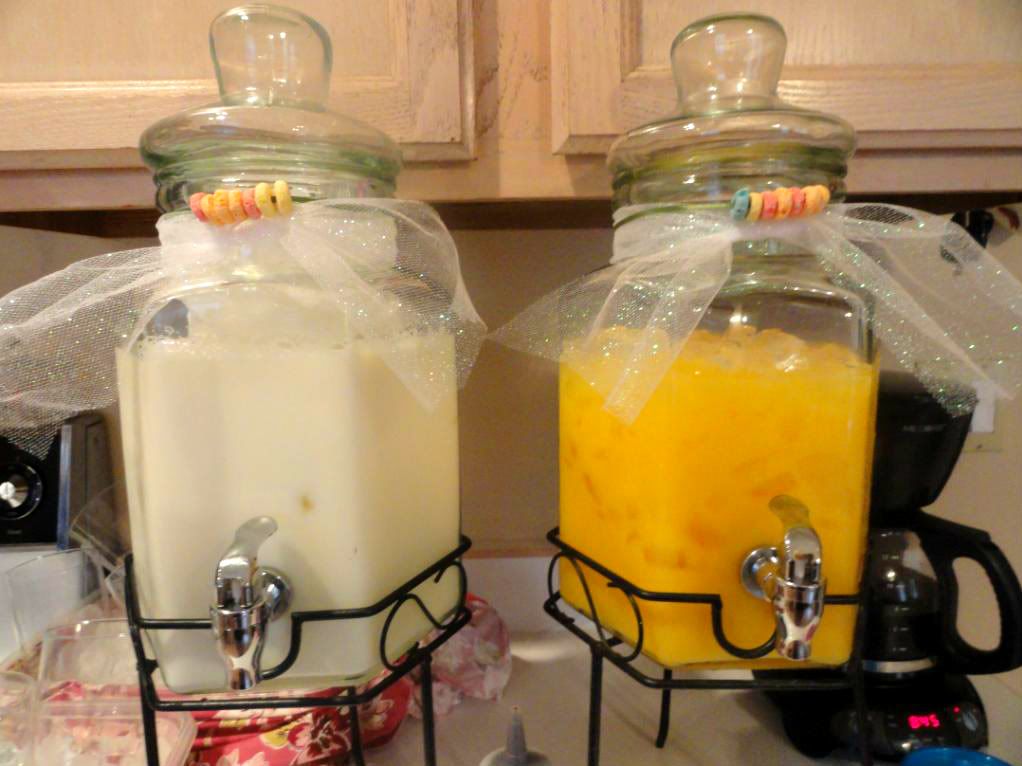
This year, the theme for her party was a Breakfast Pajama party. Everyone was invited over the Saturday before her birthday and were asked to wear their PJ's, enjoy some yummy pancakes and watch a movie! We had such a fun time.
I was a little stumped though on figuring out how I wanted to serve cake. Since her party wasn't really a traditional one, I definitely needed to find a non-traditional way of serving up her birthday cake. I've been wanting to make a rainbow cake for some time now and then found that you can bake cake in a jar! Seeing as how my son has been enjoying solids for about 3 months now, baby food jars were in full supply.
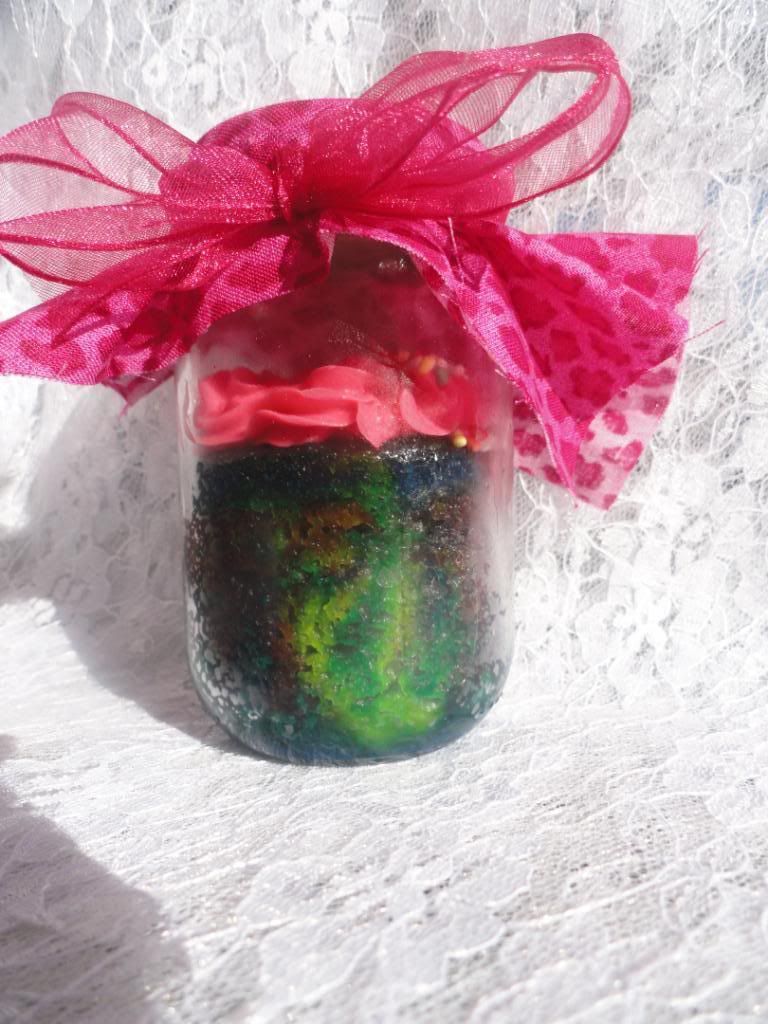
I decided I would attempt the rainbow cake in the tall baby food jars, and I must say; they were a huge hit! Everyone loved them.
Now, although the colored rainbow cake
did turn out, if I make the cake in a jar again, I'll probably just either not color it or make it a solid color. I think the great concept behind the rainbow cake is once you bite into it you get to see the bright colors, but because it was in a jar, you didn't really get the same affect. Still super cute, but not worth the time in my opinion.
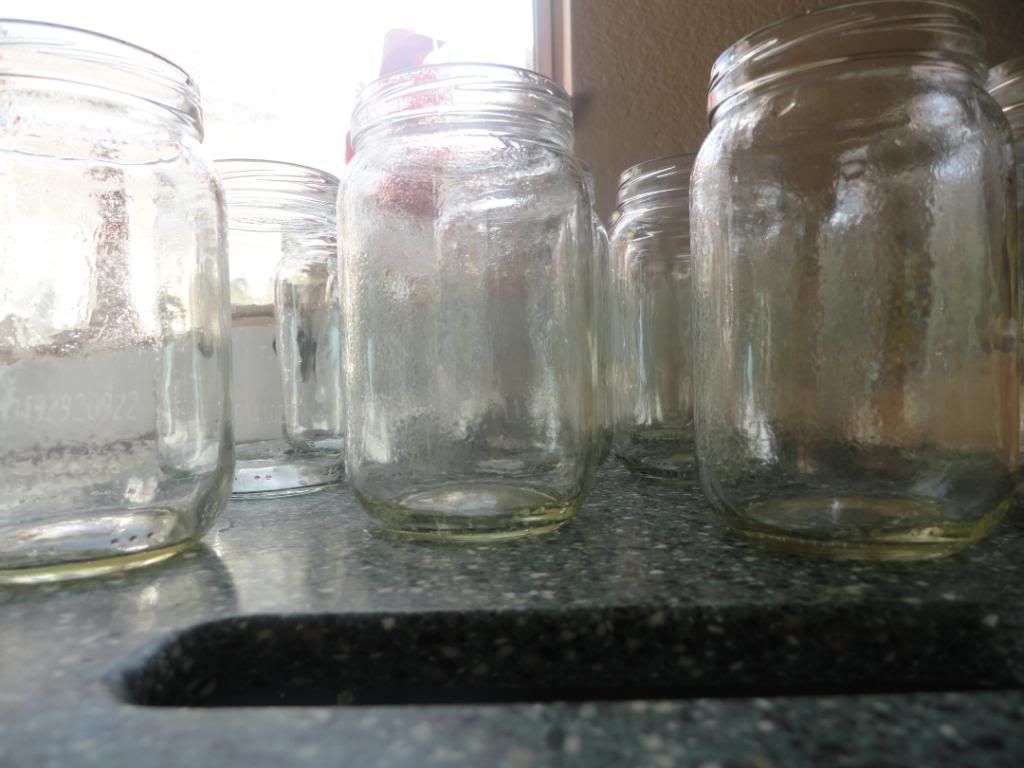
First off you want to wash and dry all of your baby food jars. One batch made 16 jars.
Next, you want to prepare your batter. I used a recipe from my Better Homes cookbook for white cake:
Source: Better Homes and Gardens - 75th Anniversary Edition
Recipe:
White Cake
4 egg whites
2 cups all purpose flour
1 teaspoon baking powder
1/2 teaspoon baking soda
1/8 teaspoon salt
1/2 cup shortening or butter, softened
1 3/4 cup sugar
1 teaspoon vanilla (or I used maple...
mmm)
1 1/3 cups buttermilk
1) Allow egg whites to stand at room temperature for 30 minutes. Preheat oven to 350 degrees
-
you will want to grease your baby food jars with cooking spray
2) In a medium bowl, stir together flour, baking powder, baking soda and salt; set aside
3) In a large mixing bowl, beat shortening with an electric mixer on medium to high speed for 30 seconds. Add sugar and vanilla (
or maple) ; beat until well combined. Add egg whites 1 at a time, beating well after each. Alternately add flour mixture and buttermilk to shortening mixture, beating on low speed after each addition just until combined.
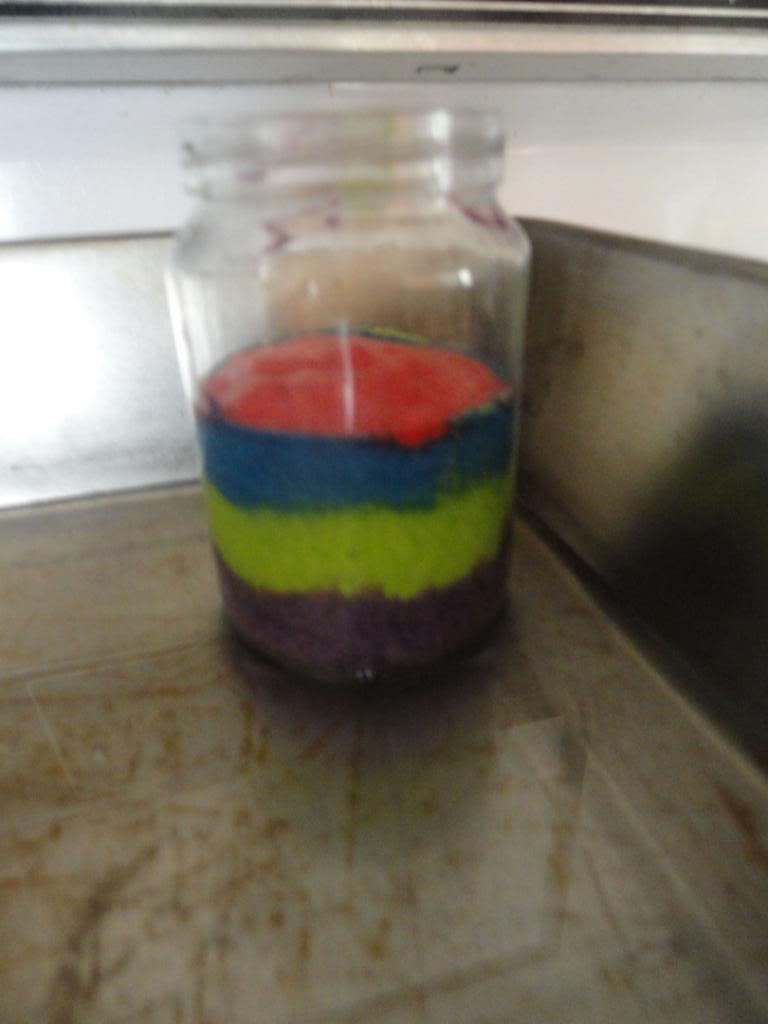
IF YOU ARE COLORING YOUR BATTER: Purchase the neon food coloring. Separate your batter into four bowls and add coloring to each.
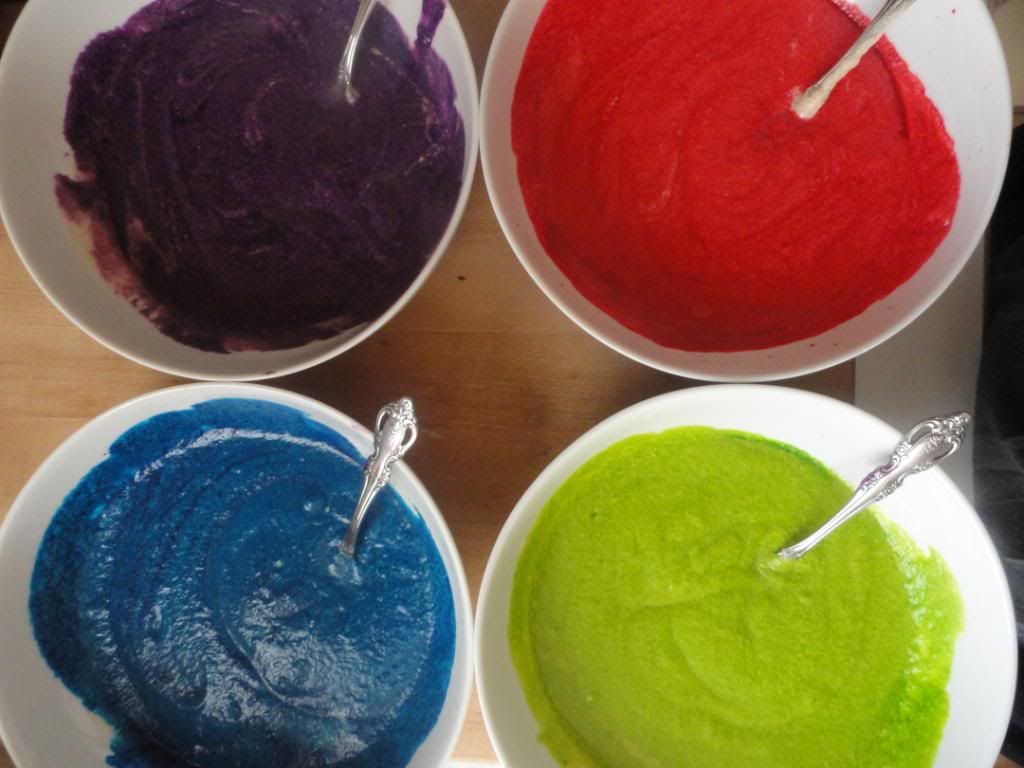
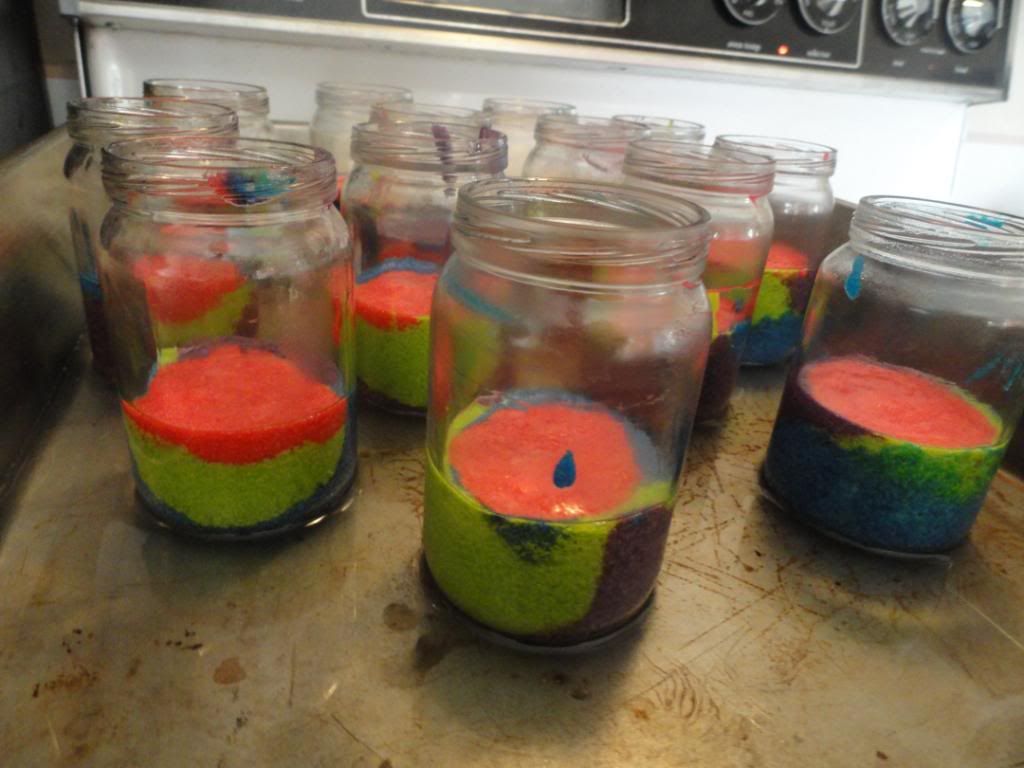
Next, using a spoon, spoon in each color layering until about half full into jars. Make sure you do not have batter on the sides of the jar. The technique that worked best for me was to take just a large scoop and drip it directly in to the jar (w/o tilting it or anything)
When you are ready to bake them, fill a large pan with about 1/4 inch of water. Place jars in pan and bake for about 40-60 minutes.
When you think they are about done, insert a wooden skewer into the center of one of the jars. If it removes clean, you are good to go, but if not, add a few more minutes to your baking time.
Let cool completely. then add frosting. The frosting I used was also from the Better Homes cookbook.
Butter Frosting
3/4 cup frosting, softened
9 cups powdered sugar (2 pounds)
1/4 cup milk
2 teaspoons vanilla
(
I did 1 teaspoon vanilla and 1 teaspoon maple)
In a very large mixing bowl, beat butter until smooth. Gradually add 2 cups of the powdered sugar, beating
well. Slowly beat in the 1/4 cup milk and the vanilla.
Gradually beat in remaining powdered sugar. Beat in enough additional milk to reach spreading consistency.
I then added pink food coloring.
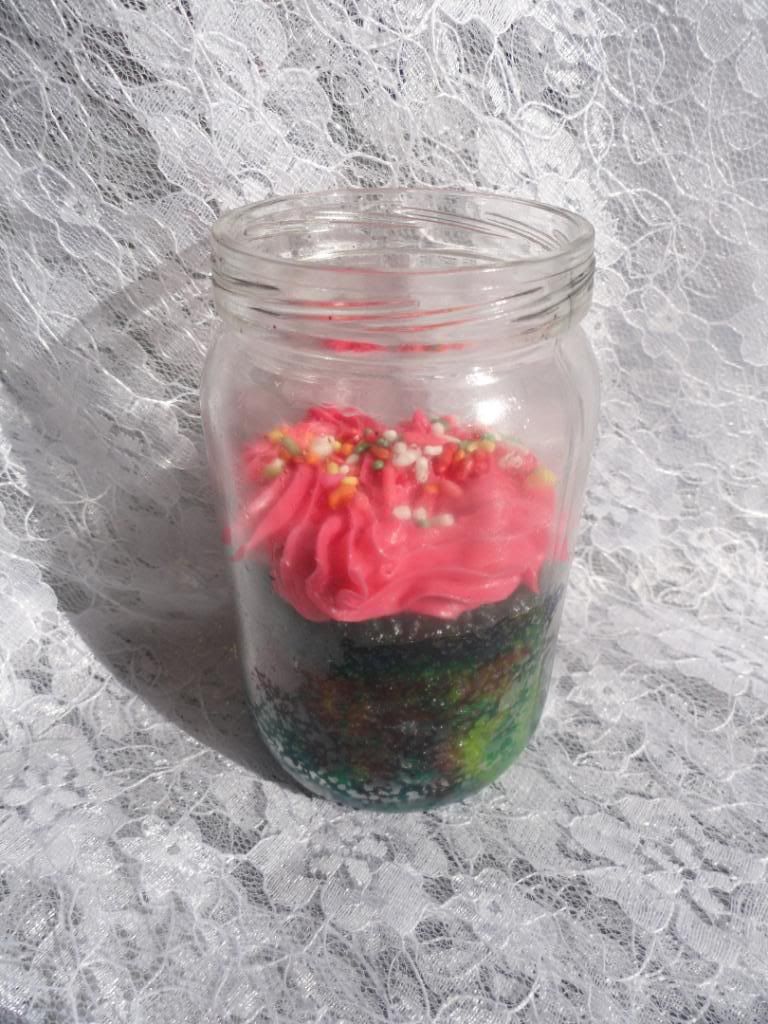
Making sure your cake is completely cool, you are ready to frost.
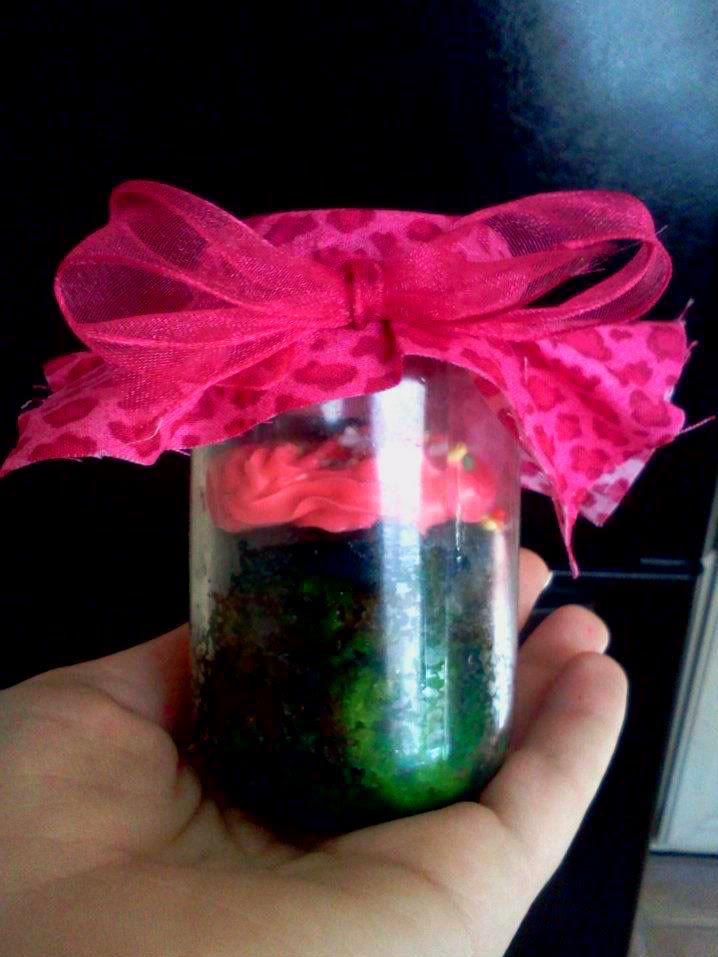
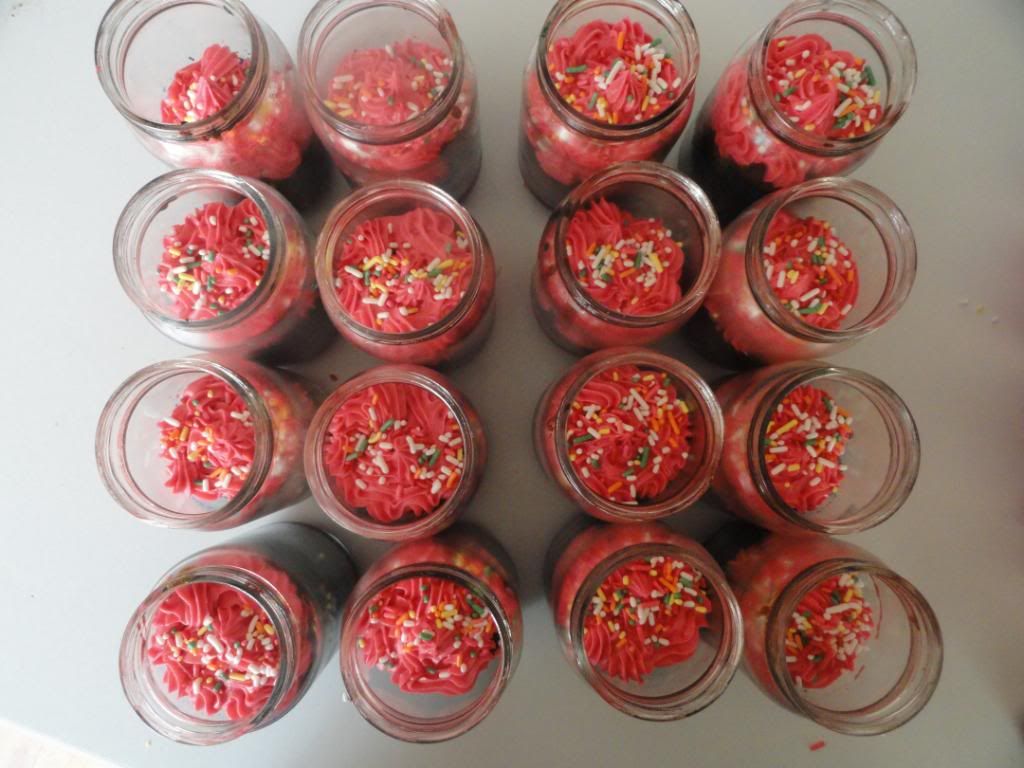
I added the frosting to a pastry bag with a flower tip and went from there. They came out so cute! Next I added some sprinkles.
And finally I couldn't just leave the lids plain, so I cut out little pieces of fabric and hot glued them to the top. After I was complete with frosting and all, I capped the top and tied a ribbon around.
So adorable,
right?
*
Many recipes I found online for Jar Cakes said that you could keep them in the refrigerator for up to 5 days. I baked these 2 days in advance and they were delicious!
Many military families bake cakes and other desserts in jars to ship to their loved ones over-seas. How perfect for a little taste of home. So sweet!