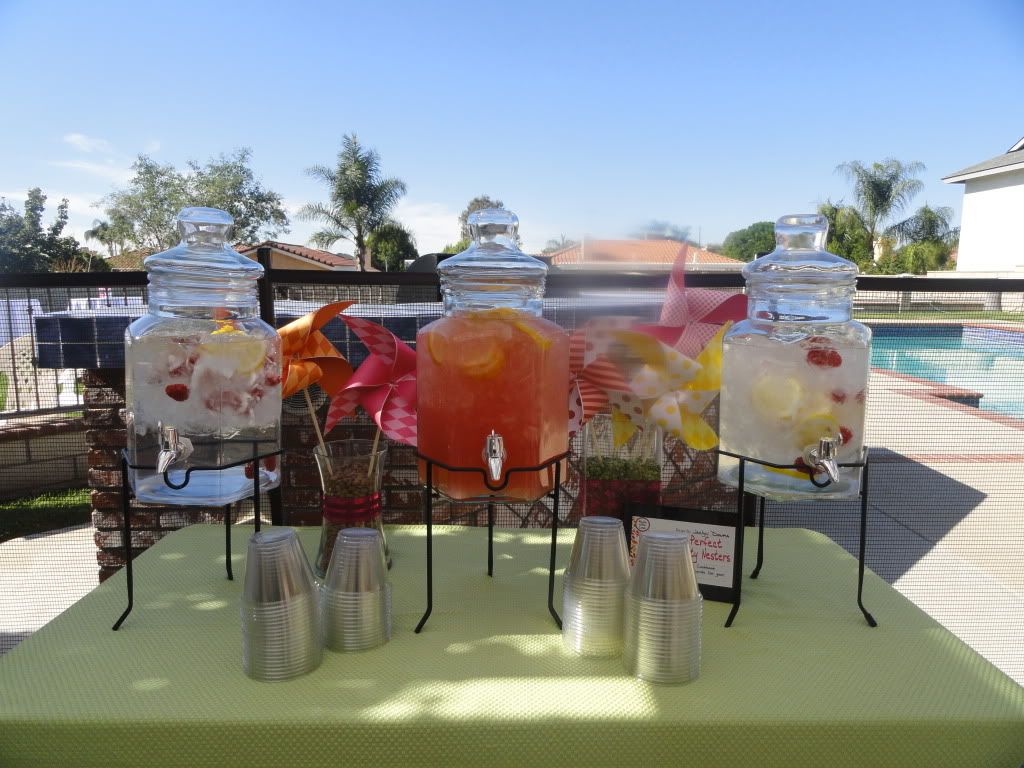
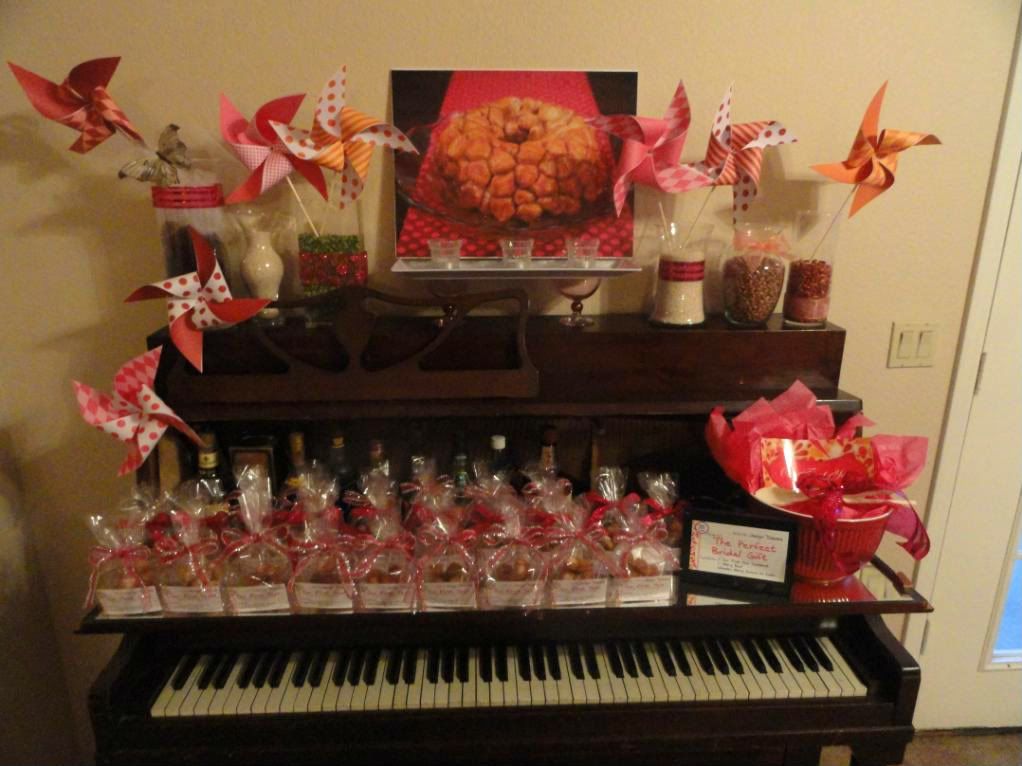
Thursday, December 29, 2011

Thankful Thursday: My beautiful daughter

Since we've been talking all about my daughters birthday party this week, I thought it only appropriate to dedicate my Thankful Thursday to my beautiful daughter Aliyah. She is such a beautiful light in my life and I am continuously thankful to God for blessing me and my family with her. Now that she is getting a bit older, she is repeating everything we say and I am quickly realizing the phrases I say the most. Apparently I say "Let's See Here" all the time, because I am now catching myself saying it when I open up my utensil drawers or opening up a cookbook, cracks me up every time.

Well I wanted to take you through her Pajama Breakfast Birthday party that we had a few weeks ago.

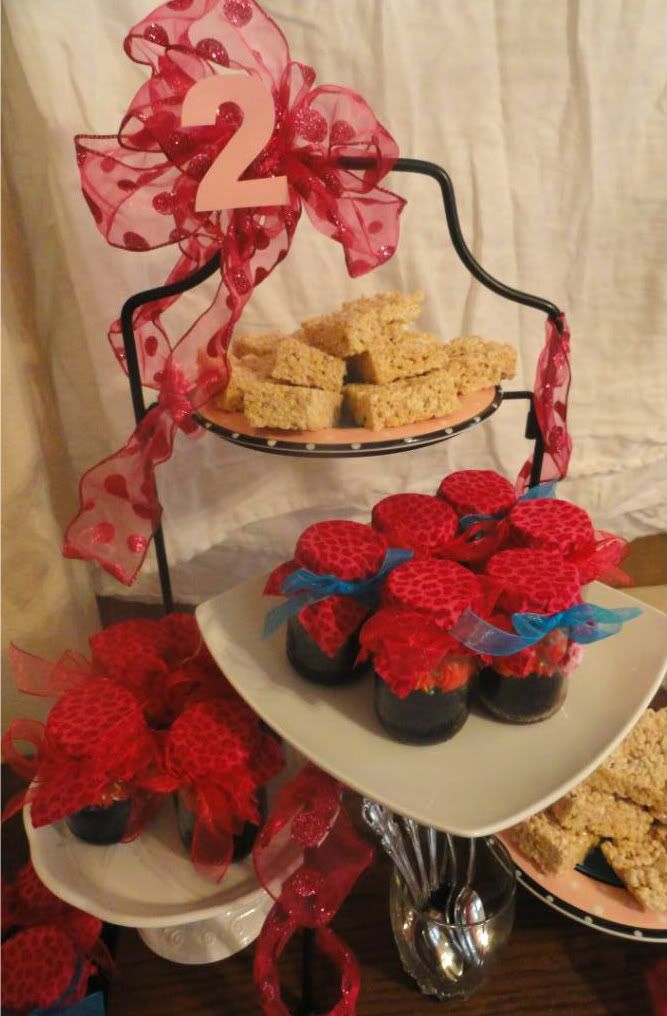
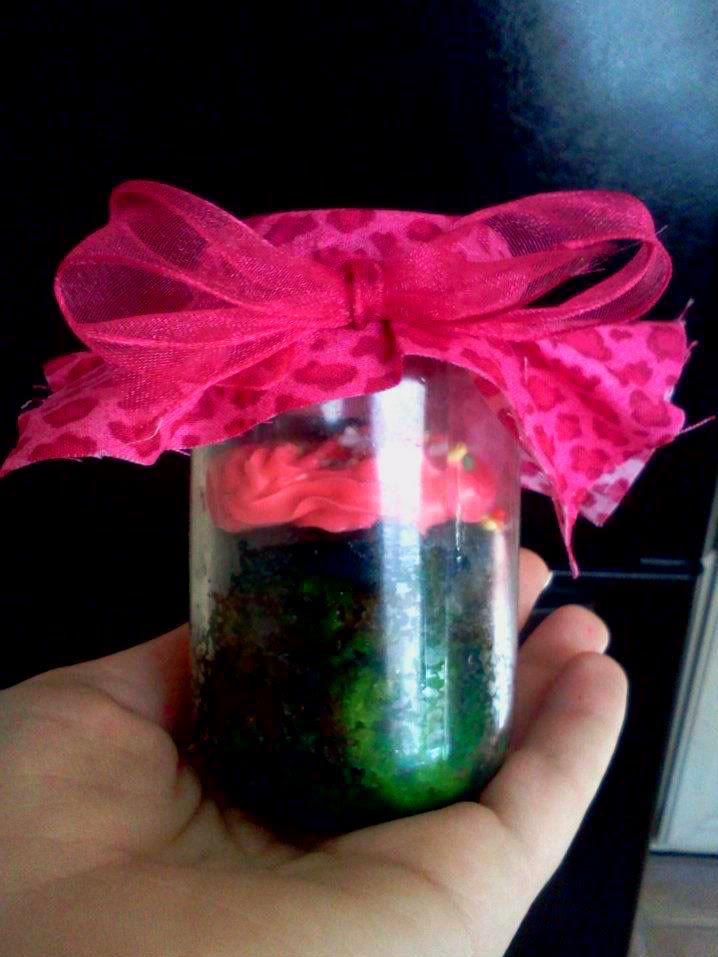
You all saw the Cake In A Jar's that I made in my post on Tuesday. I also served some rice krispie treats in lieu of the breakfast theme.
Photobucket

Photobucket

Photobucket

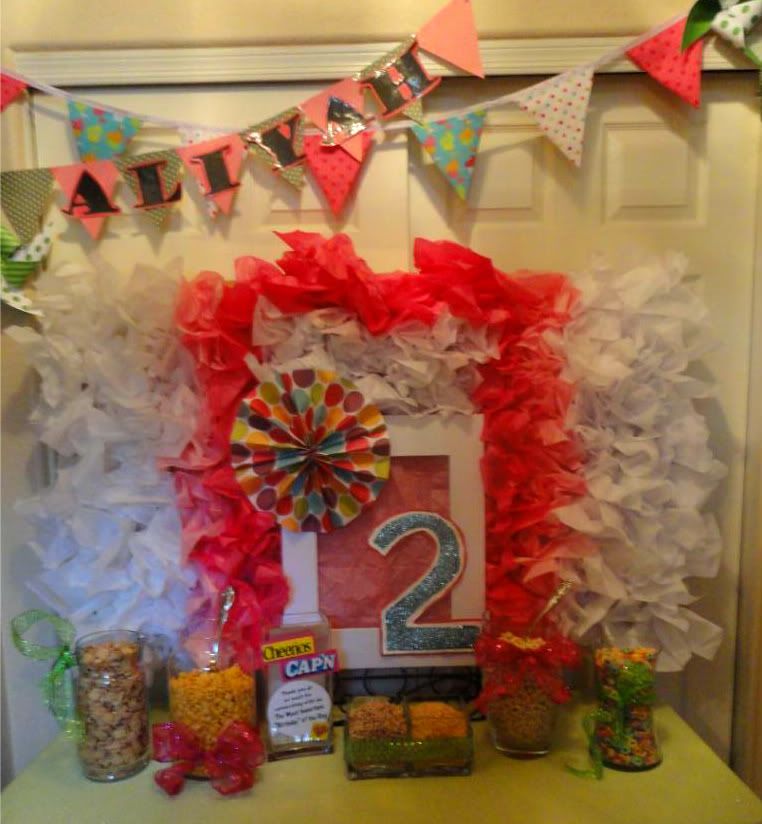
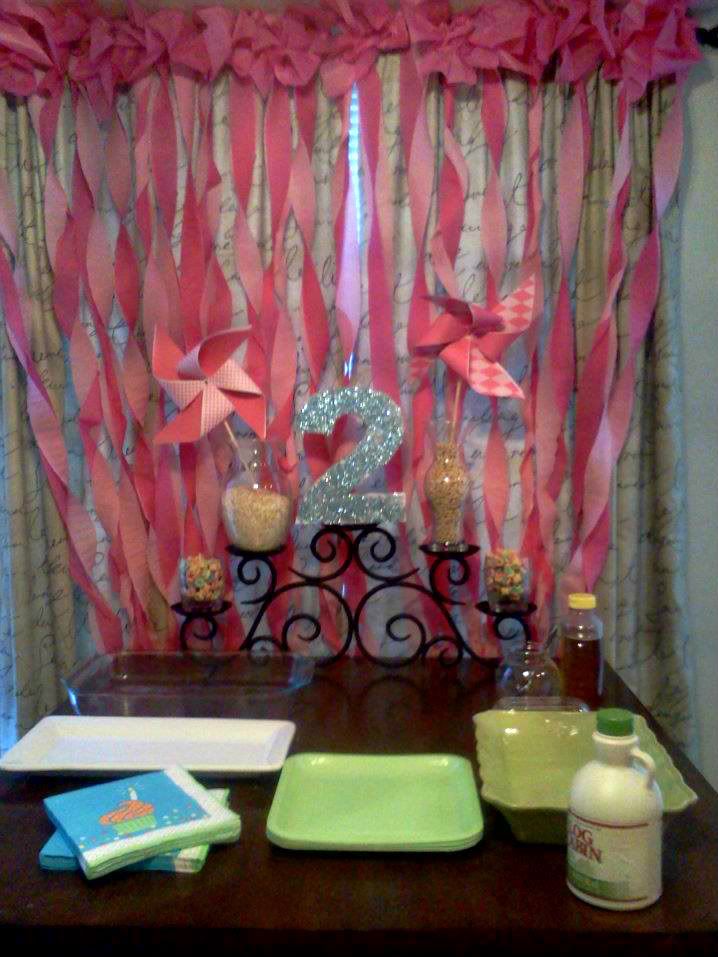
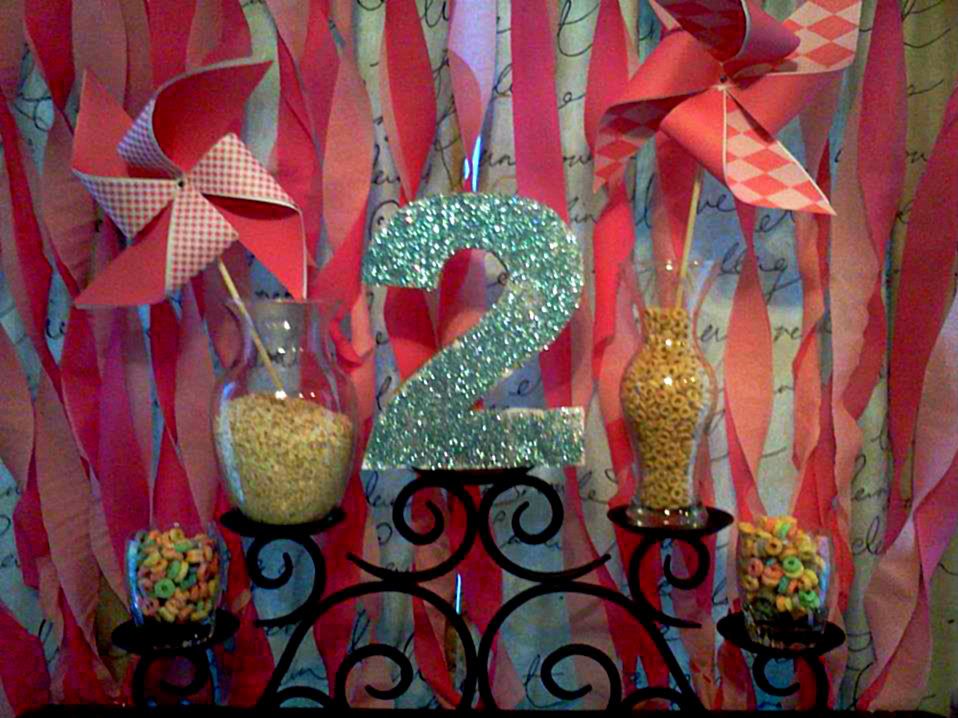
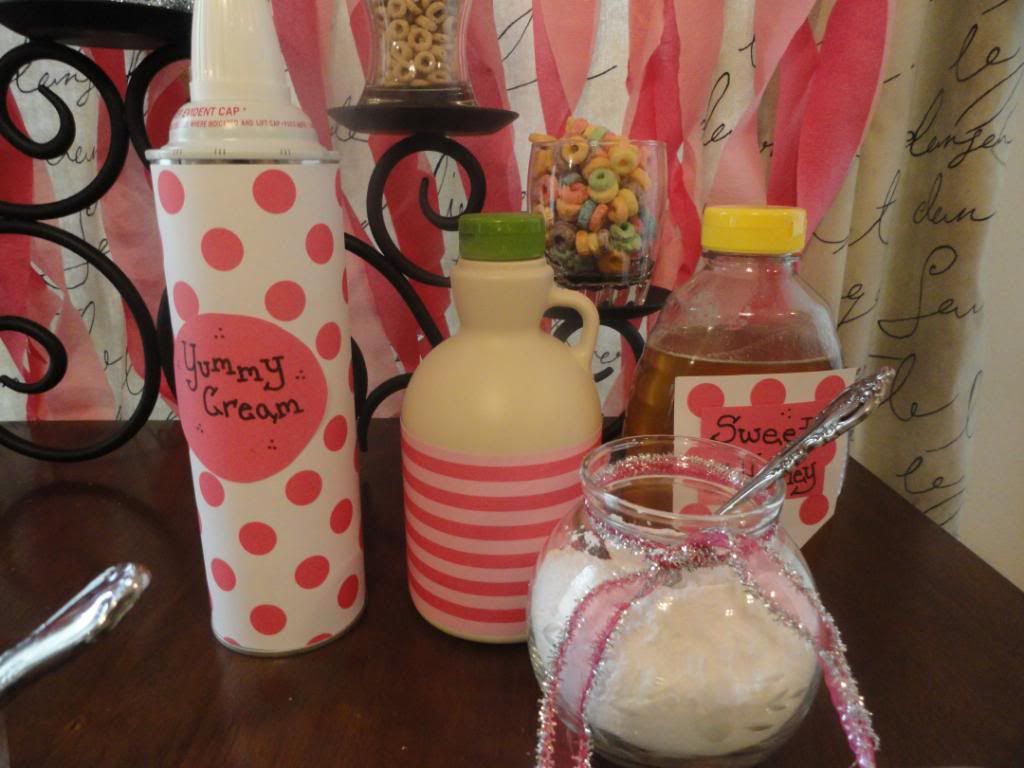
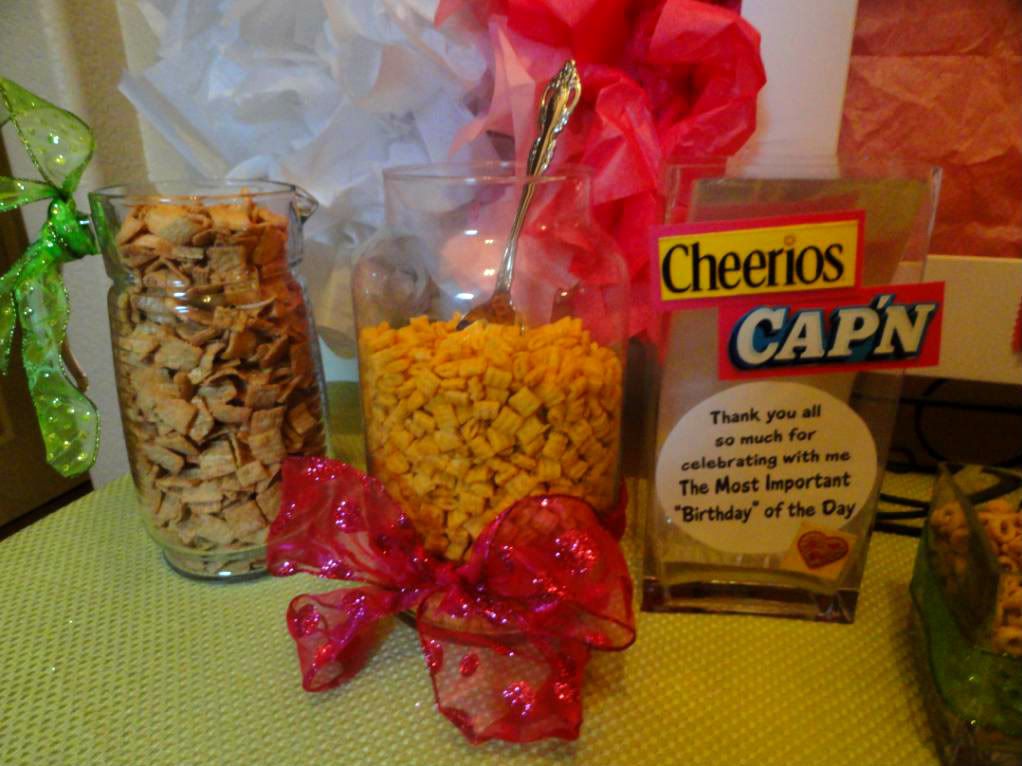
As our guests arrived they were greeted with a cereal bar and cheery welcome to Aliyah's 2nd Birthday Party. You can see how I made the tissue paper backdrop here

Photobucket


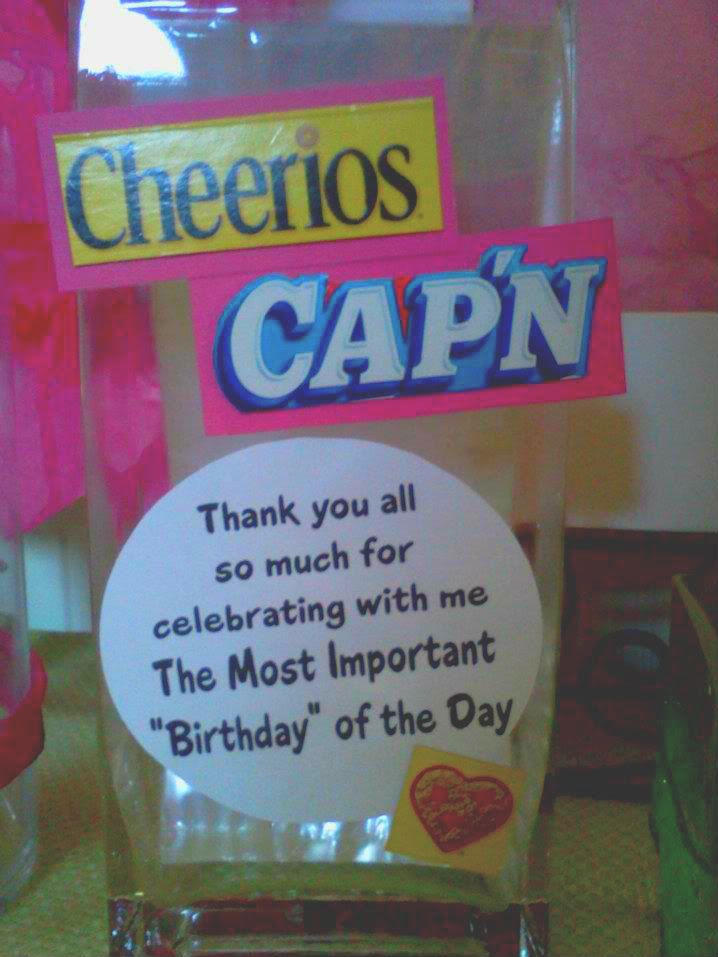
The little container with the take home bags read: "Thank you all so much for celebrating with me the Most Important "Birthday" of the Day"

Photobucket

I was a little bummed that I didn't get a picture of our food table with all the food on it...leave it to the food blogger and cookbook author not to photograph the food.  I did take a photo before hand though, so that counts a little bit.

Photobucket

Photobucket

Photobucket

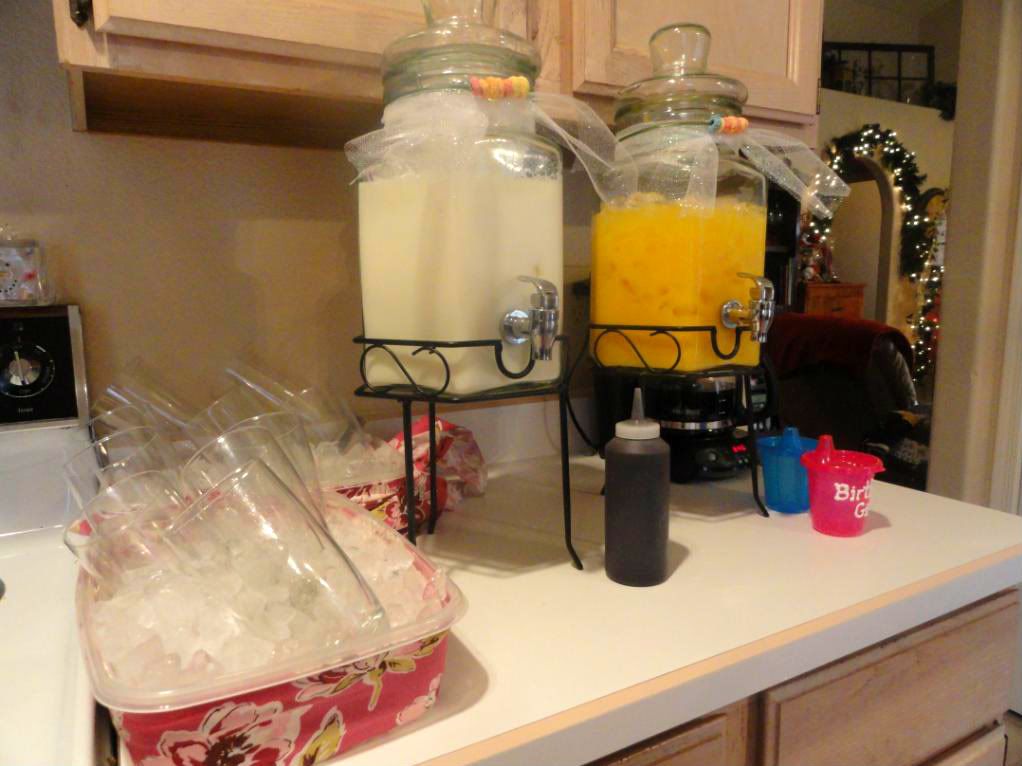
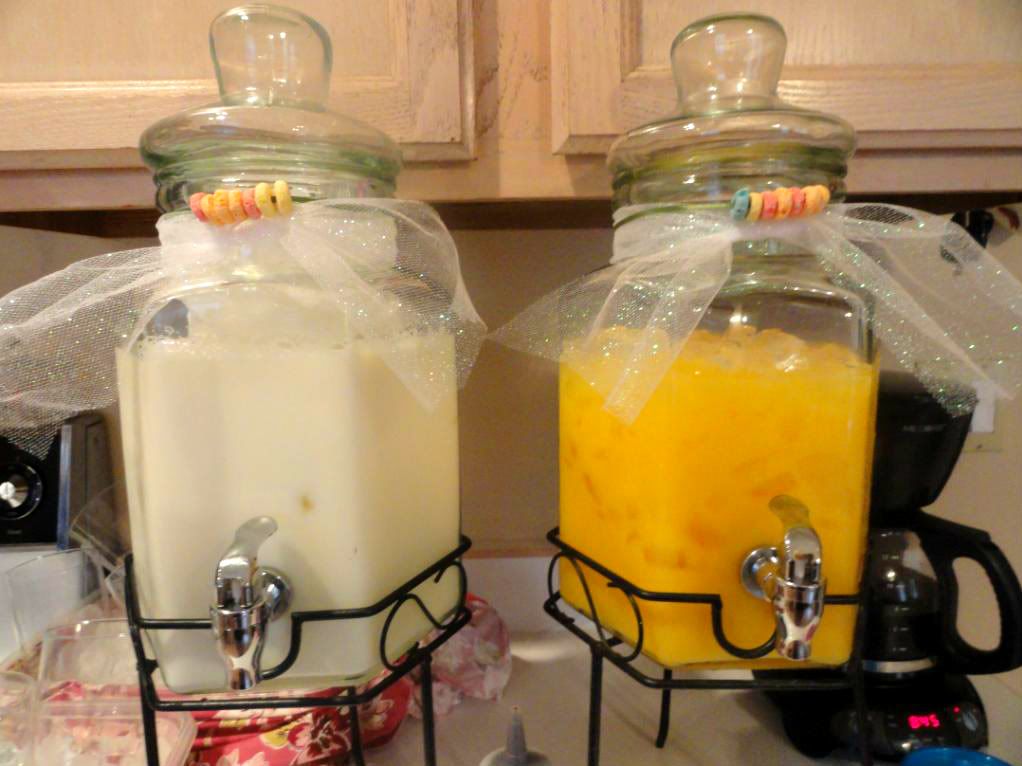
And of course for drinks we had iced cold OJ and Milk, as well as some homemade chocolate sauce from my parents ice cream parlor for chocolate milk!

Photobucket

Photobucket

Photobucket

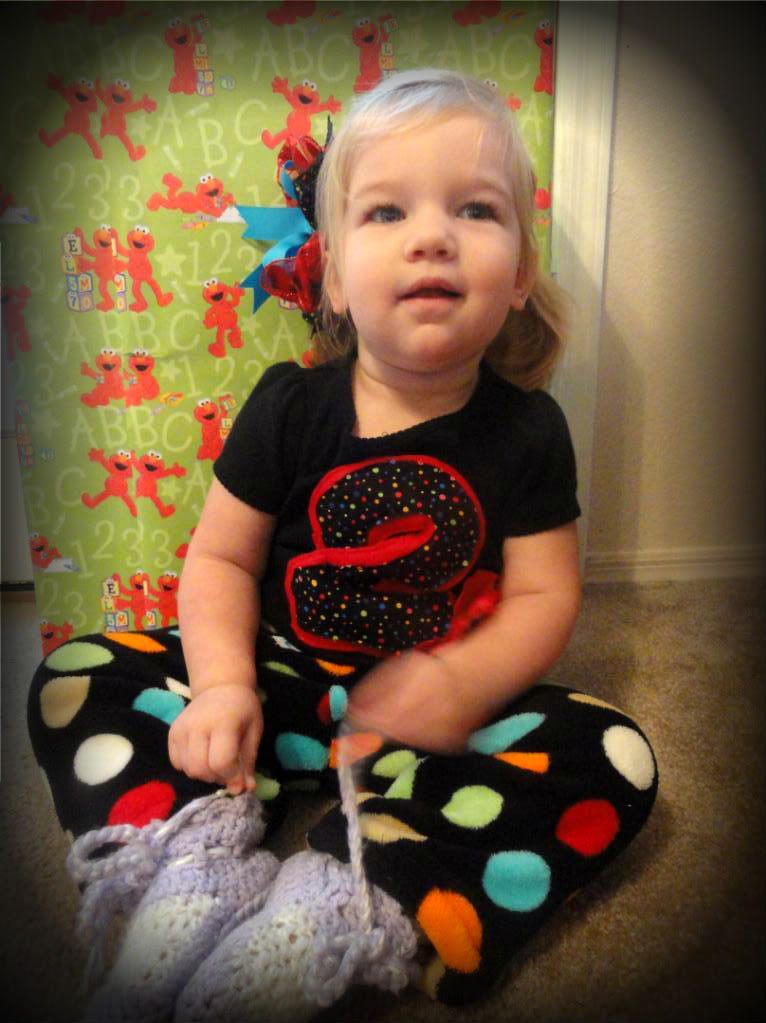
Happy Birthday Baby Girl!


Photobucket

(I also made her pj's, slippers and bow too!)

As part of our Breakfast I served a new recipe of mine which was an Egg Casserole. I made ours vegetarian with only eggs and cheese, but it would also be delicious with ham, bacon or sausage mixed in; or even all three!
(and remember, I failed to photograph the food)

12 Eggs
1/2 lb grated cheese
1 cup milk
4 Tablespoons melted butter

-----
Additional ingredients
Salt, pepper
Garlic
Seasoning salt

------
And then just add what you like:
onions
meat
salsa

I prepared mine the night before, but didn't put it into the casserole dish until that morning. My reason being, because you melt the butter in the dish I didn't want it to get cold again -- I didn't think it would have the same effect as having the melted butter surround the casserole.

Whisk together eggs, along with milk and seasonings. Once whipped, add in cheese and meat. Stire together and store in a container over night, if making ahead of time. If making day of, follow directions below.

In the morning, melt your butter and pour into 9x13 casserole dish. Next pour in egg mixture. Bake at 350 for about 40 minutes. It will start to puff around the outside and the middle will sink if you check it at about 20 minutes, don't worry the rest will puff up too. After the 40 minutes it should be cooked all the way through.


Enjoy warm!

Wednesday, December 28, 2011

Woo-Hoo Wednesday: Tissue Paper Backdrop

I had mentioned yesterday that we recently celebrated my daughters 2nd birthday. I was so excited about my backdrop for her cereal breakfast bar I knew I had to share!

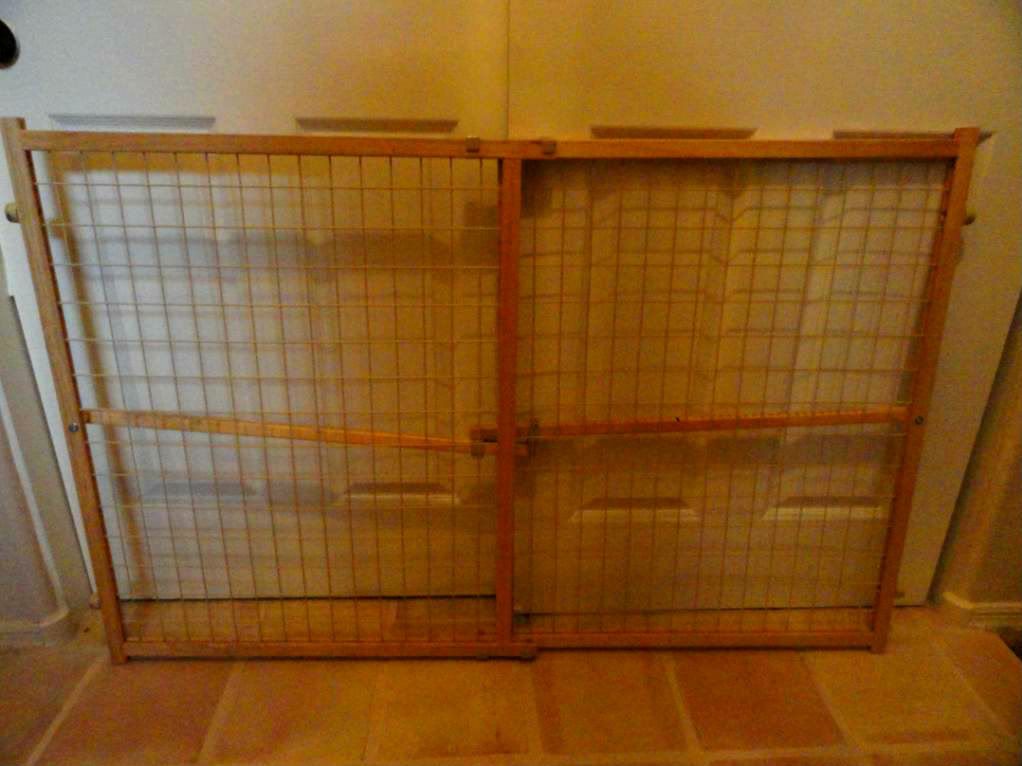
Walking around the house, while both kids were sleeping, I was searching for inspirations. Cardstock? No. Paper Plates? Nope. Cardboard boxes....Hmmm, maybe. What's this baby gate doing in my way? Ugh, always in the way. As I move one of the baby gates out of the way in the garage I am struck with an idea! Those little holes in the gate would be perfect to decorate with...yes perfect!


Photobucket

I had so much tissue paper left over from my book release parties and also from wrapping Christmas presents, I knew they would look awesome as a back drop. I cut each sheet in half and began stuffing them in the baby gate. As I finished up the backdrop my brain continued to rack up more and more ideas that I could create using just one baby gate. It is so versatile, picking out colors to match your decor and then adding additional foliage as you go! It worked perfect for my daughters party, and I look forward to using this same concept for future parties too!


Photobucket

Tuesday, December 27, 2011

How To Tuesday: Cake in a Jar

How was everyone's Christmas this year? I hope filled with overflowing joy of our Savior, our family and our love! This year was so much fun to experience Christmas day, as we have two little ones to join in the excitement with. Plus, I love that my daughter LOVED the Advent Calendar I made for her, always anxious to get her *chocolate* and for her daddy to read each verse.

We also had the excitement of celebrating my daughters 2nd birthday, which is on the 23rd of December. She is such a character and I cannot wait to see what this year has in store for us!

This year, the theme for her party was a Breakfast Pajama party. Everyone was invited over the Saturday before her birthday and were asked to wear their PJ's, enjoy some yummy pancakes and watch a movie! We had such a fun time.

I was a little stumped though on figuring out how I wanted to serve cake. Since her party wasn't really a traditional one, I definitely needed to find a non-traditional way of serving up her birthday cake. I've been wanting to make a rainbow cake for some time now and then found that you can bake cake in a jar! Seeing as how my son has been enjoying solids for about 3 months now, baby food jars were in full supply.

I decided I would attempt the rainbow cake in the tall baby food jars, and I must say; they were a huge hit! Everyone loved them.

Now, although the colored rainbow cake did turn out, if I make the cake in a jar again, I'll probably just either not color it or make it a solid color. I think the great concept behind the rainbow cake is once you bite into it you get to see the bright colors, but because it was in a jar, you didn't really get the same affect. Still super cute, but not worth the time in my opinion.

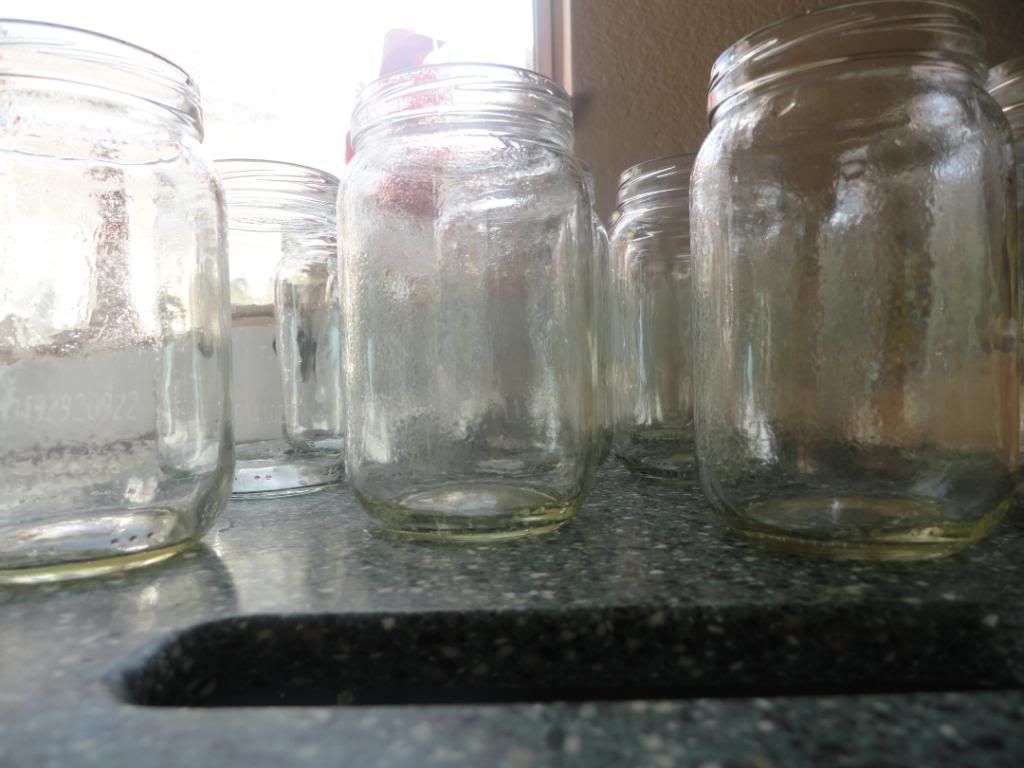
First off you want to wash and dry all of your baby food jars. One batch made 16 jars.
Photobucket

Next, you want to prepare your batter. I used a recipe from my Better Homes cookbook for white cake:

Source: Better Homes and Gardens - 75th Anniversary Edition
Recipe:
White Cake

4 egg whites
2 cups all purpose flour
1 teaspoon baking powder
1/2 teaspoon baking soda
1/8 teaspoon salt
1/2 cup shortening or butter, softened
1 3/4 cup sugar
1 teaspoon vanilla (or I used maple...mmm)
1 1/3 cups buttermilk

1) Allow egg whites to stand at room temperature for 30 minutes. Preheat oven to 350 degrees

-you will want to grease your baby food jars with cooking spray

2) In a medium bowl, stir together flour, baking powder, baking soda and salt; set aside

3) In a large mixing bowl, beat shortening with an electric mixer on medium to high speed for 30 seconds. Add sugar and vanilla (or maple) ; beat until well combined. Add egg whites 1 at a time, beating well after each. Alternately add flour mixture and buttermilk to shortening mixture, beating on low speed after each addition just until combined.

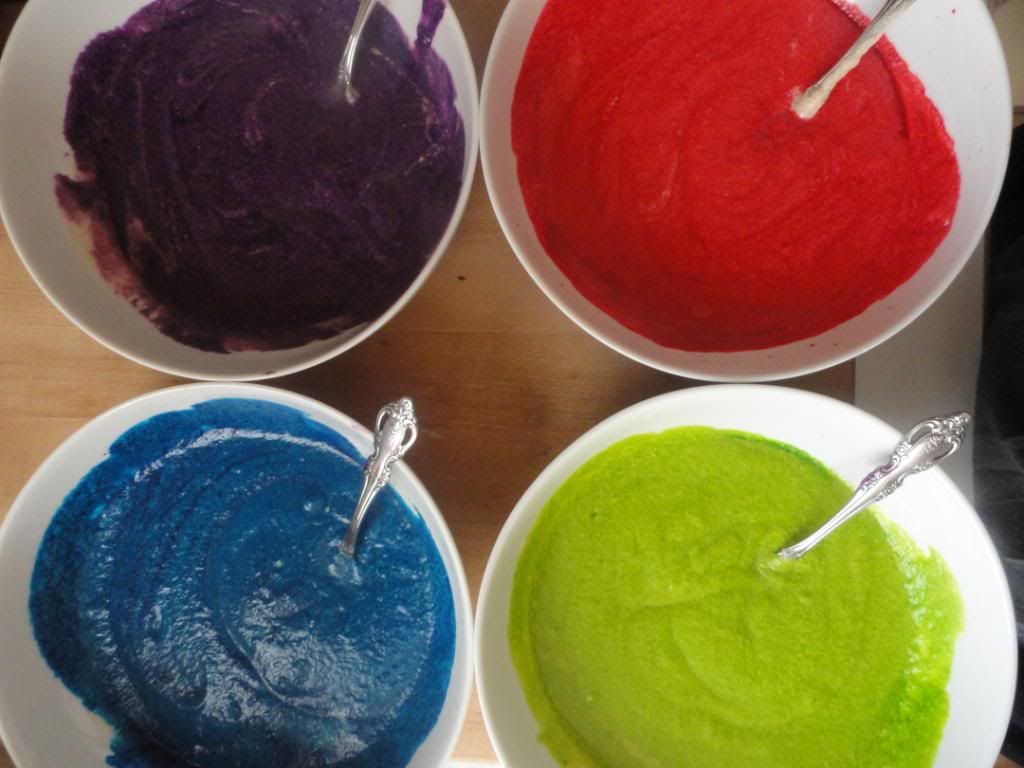
IF YOU ARE COLORING YOUR BATTER: Purchase the neon food coloring. Separate your batter into four bowls and add coloring to each.
Photobucket

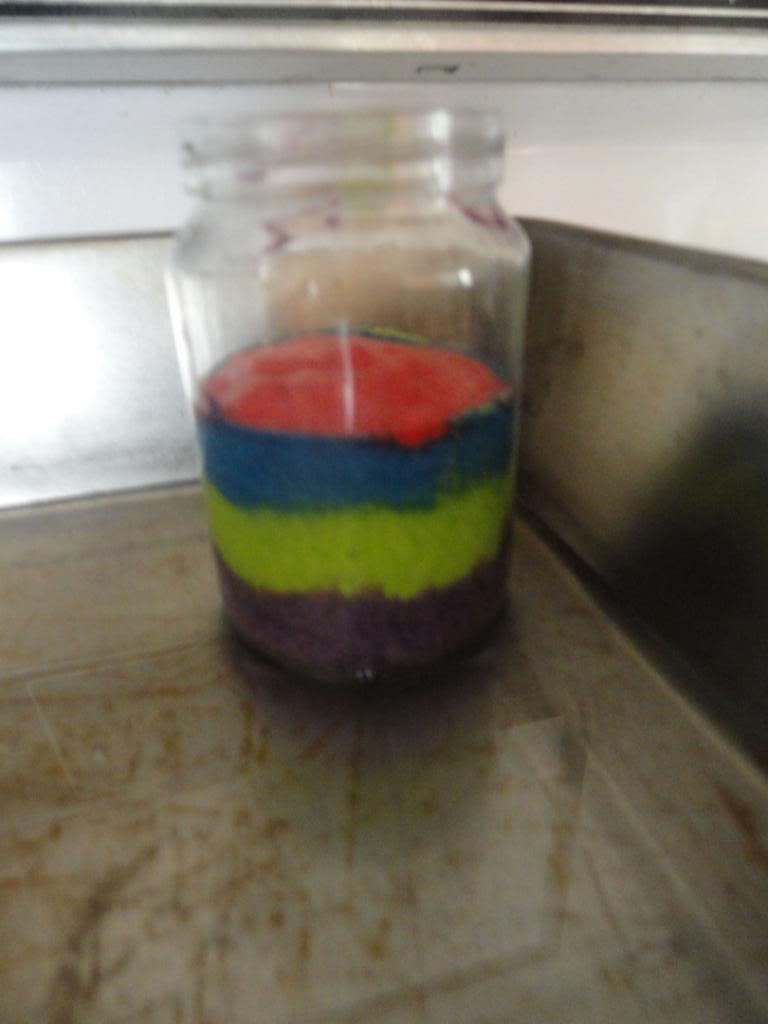
Next, using a spoon, spoon in each color layering until about half full into jars. Make sure you do not have batter on the sides of the jar. The technique that worked best for me was to take just a large scoop and drip it directly in to the jar (w/o tilting it or anything)
Photobucket

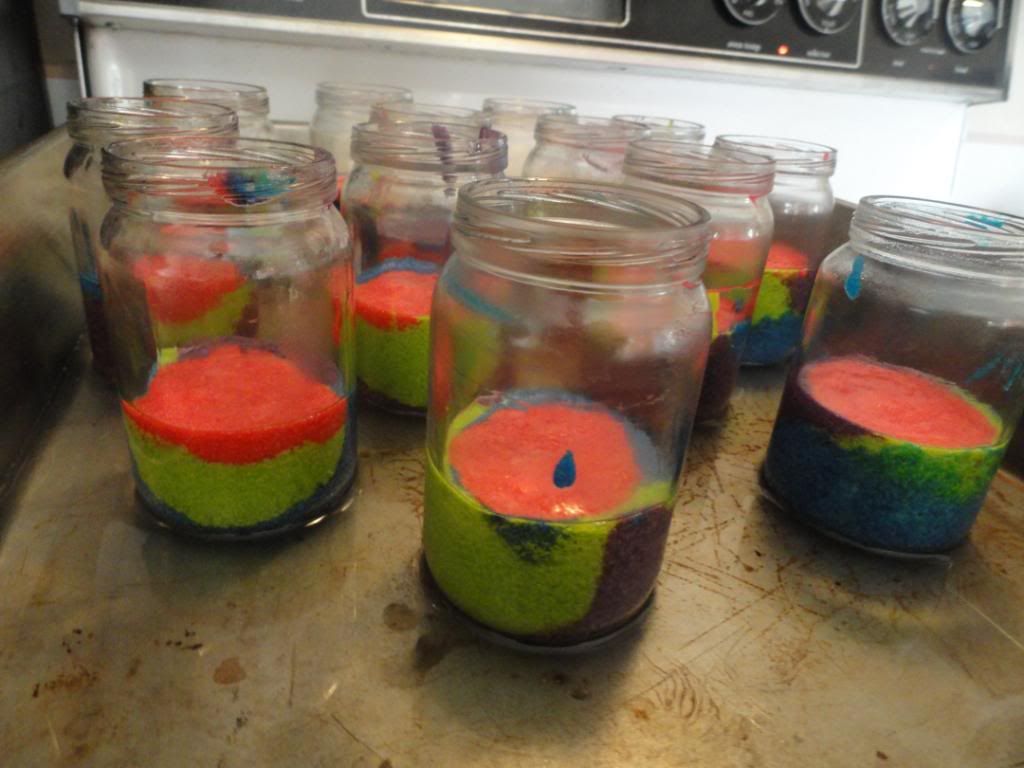
When you are ready to bake them, fill a large pan with about 1/4 inch of water. Place jars in pan and bake for about 40-60 minutes.
Photobucket


When you think they are about done, insert a wooden skewer into the center of one of the jars. If it removes clean, you are good to go, but if not, add a few more minutes to your baking time.

Let cool completely. then add frosting. The frosting I used was also from the Better Homes cookbook.

Butter Frosting
3/4 cup frosting, softened
9 cups powdered sugar (2 pounds)
1/4 cup milk
2 teaspoons vanilla
(I did 1 teaspoon vanilla and 1 teaspoon maple)

In a very large mixing bowl, beat butter until smooth. Gradually add 2 cups of the powdered sugar, beating
well. Slowly beat in the 1/4 cup milk and the vanilla.

Gradually beat in remaining powdered sugar. Beat in enough additional milk to reach spreading consistency.

I then added pink food coloring.

Making sure your cake is completely cool, you are ready to frost.

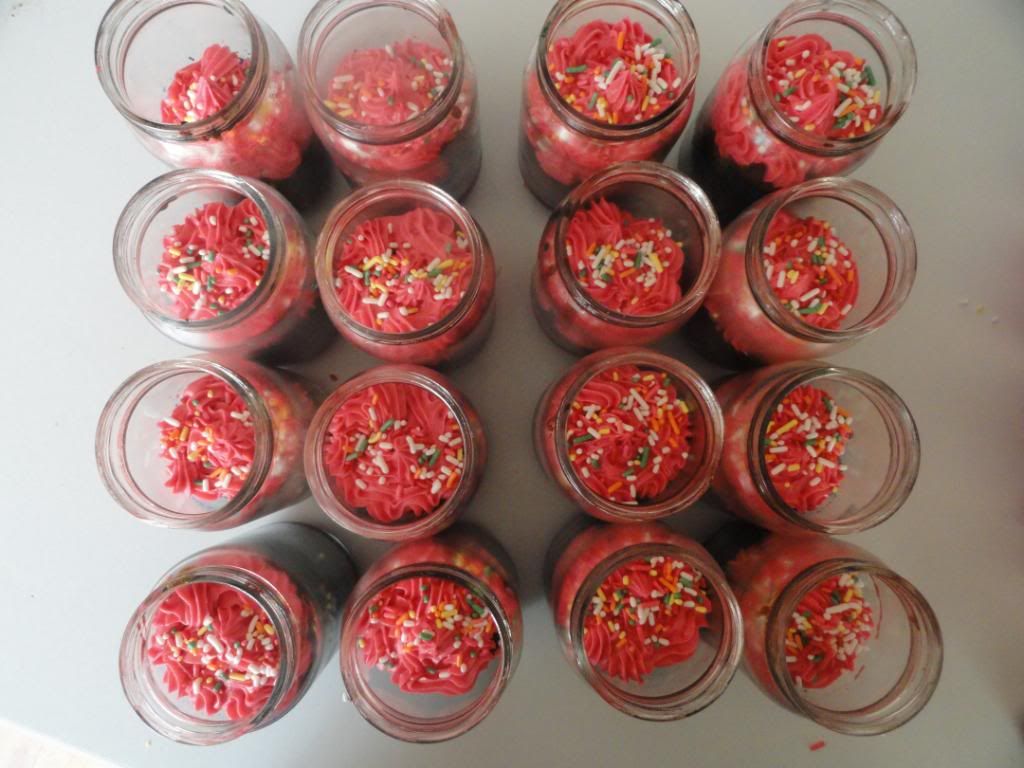
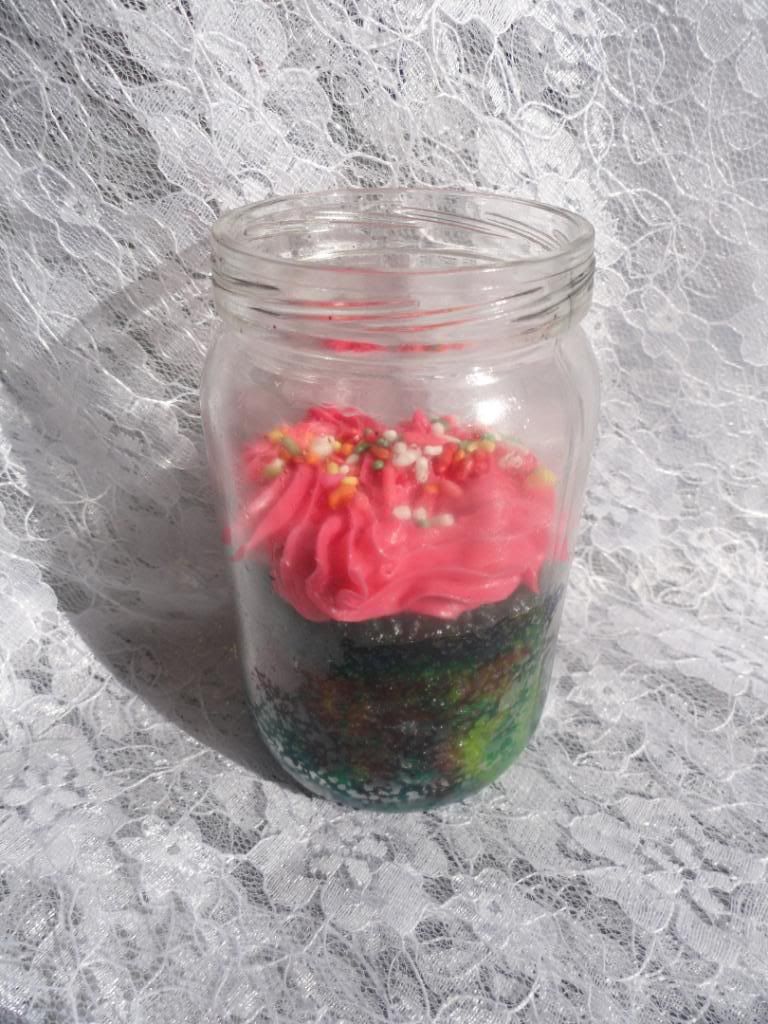
I added the frosting to a pastry bag with a flower tip and went from there. They came out so cute! Next I added some sprinkles.
Photobucket

Photobucket

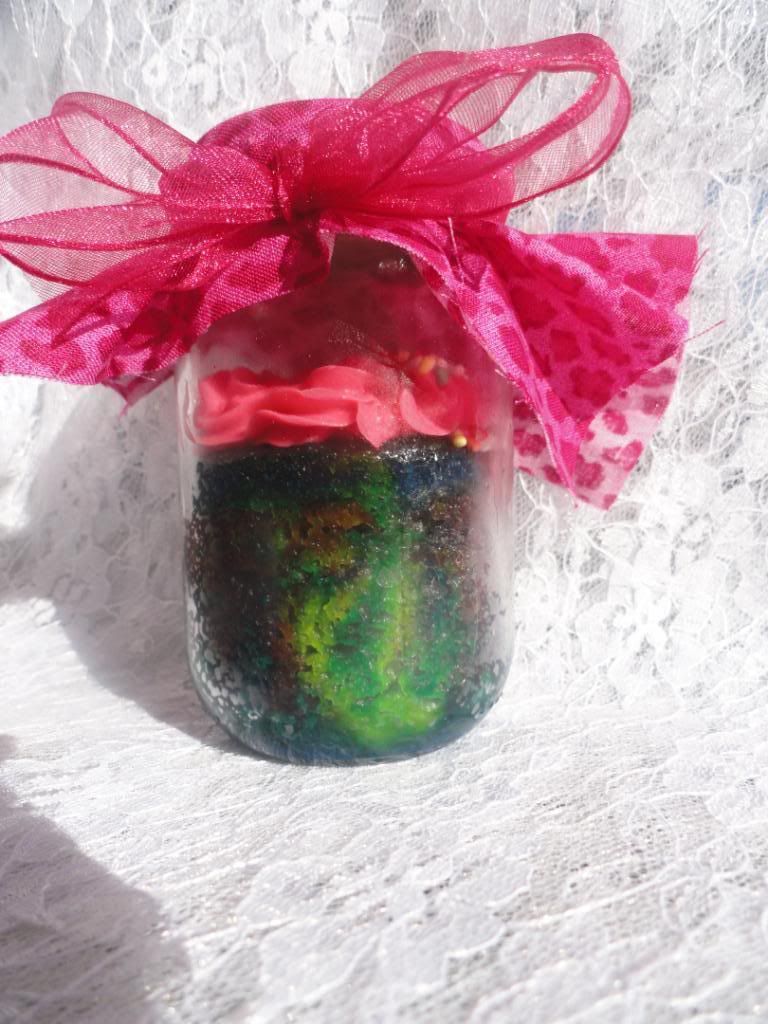
And finally I couldn't just leave the lids plain, so I cut out little pieces of fabric and hot glued them to the top. After I was complete with frosting and all, I capped the top and tied a ribbon around.

So adorable, right?


Photobucket

Photobucket

*Many recipes I found online for Jar Cakes said that you could keep them in the refrigerator for up to 5 days. I baked these 2 days in advance and they were delicious!

Many military families bake cakes and other desserts in jars to ship to their loved ones over-seas. How perfect for a little taste of home. So sweet!  

Thursday, December 15, 2011

Thankful Thursday: Clarification and a new recipe

It was brought to my attention that my "How-To Tuesday" this week may not have been as "self explanatory" as I had assumed....so just to clear up any minor confusion (mom), here we go. (Thank you for your feedback though, it is much appreciated)


Photobucket
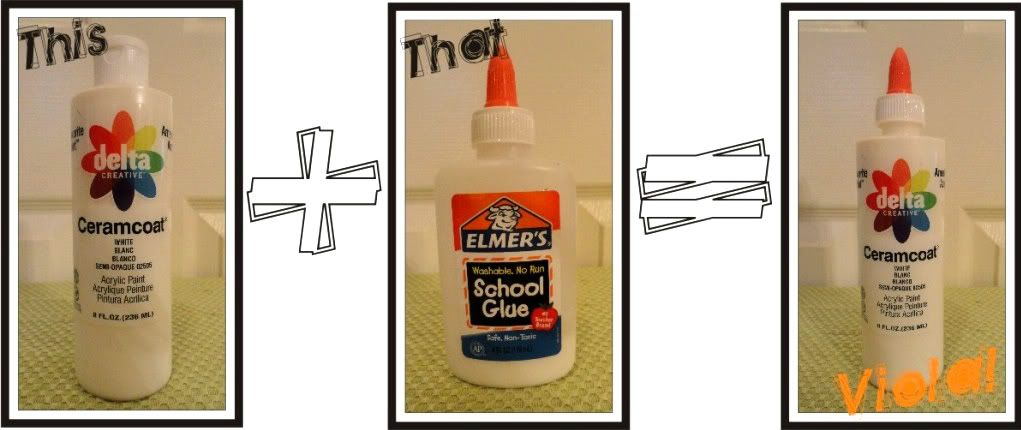
To write with regular paint, if you don't have puff paint handy, you can use the cap of a glue bottle and put it on any of your paint bottles. I've used it on these tall paint bottles, as well as the smaller ones. Worked like a charm!


Now on to Thankful Thursday. I am not for certain if I have already told you how very thankful I am for my crock pots or not, but I AM IN LOVE WITH THEM! Especially at this time in my life. I am currently blessed to be able to stay home with my almost two year old and 7 month old, as well as try to keep an orderly home and promote my book all at the same time. Even when I feel like I'm loosing my mind, having dinner in my crock pot always settles me. Knowing in just a few hours I will have a delicious meal just waiting for my family to enjoy -- Mind Settling :)

Last night I made a delicious Chicken and Dumpling Crock Pot Dinner. My family just loved it so much, and I am a sucker for dumplings. I would have taken a photo of it for everyone, but well, lets just say we didn't allow enough time to have a photo shoot, as we were all starving.

Here is the recipe though:

3 cans Cream of Celery Soup
2 cans filled with milk (fill your cream of celery soup can up)
3 boneless skinless chicken breasts, cubed
2 teaspoons granulated garlic
1 teaspoon pepper
2 teaspoons onion powder
1/2 teaspoon salt
1 teaspoon Italian Seasoning
1 bag egg noodles

Plus
Bisquick Dumpling Recipe (which requires milk)

Set your crock pot at high. Cut up chicken into cubes. Add chicken, plus additional ingredients (excluding dumpling recipe). Cook on high for 4 hours (or until chicken is done). Next, make dumpling recipe which requires only bisquick and milk. You will be adding the dumplings to our chicken soup in the crock pot. Follow directions on the side of the box. While dumplings are cooking, prepare your noodles. Enjoy Chicken and Dumplings over your noodles. Enjoy!

(FYI - I cannot wait for lunch so I can dive into some leftovers)

Wednesday, December 14, 2011

Woo-Hoo Wednesday: Party Spinners

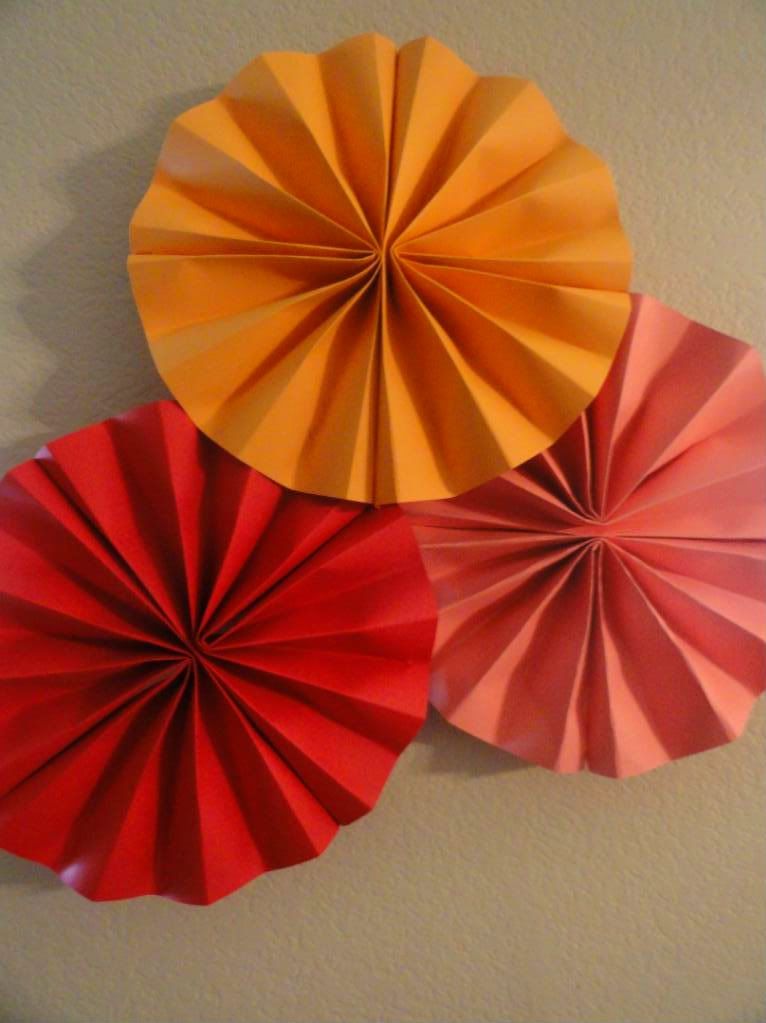
Good Morning to all my blog readers. Are you excited it's Wednesday? It's about time you wrap up all your grocery shopping for any Christmas parties you may be hosting this weekend. I wanted to give you a great backdrop idea for your appetizers and food table. You're guests will be SO impressed by the beauty of your very own DIY backdrop.

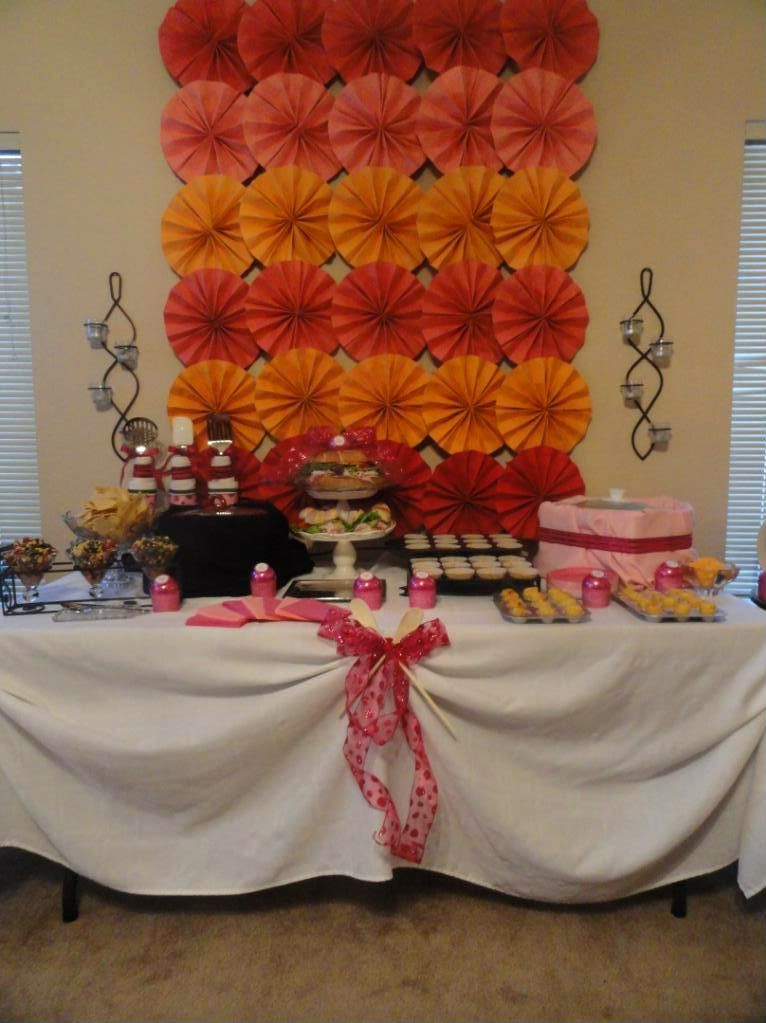
Here is a photo of the one I made and used for two of my release parties.

Photobucket

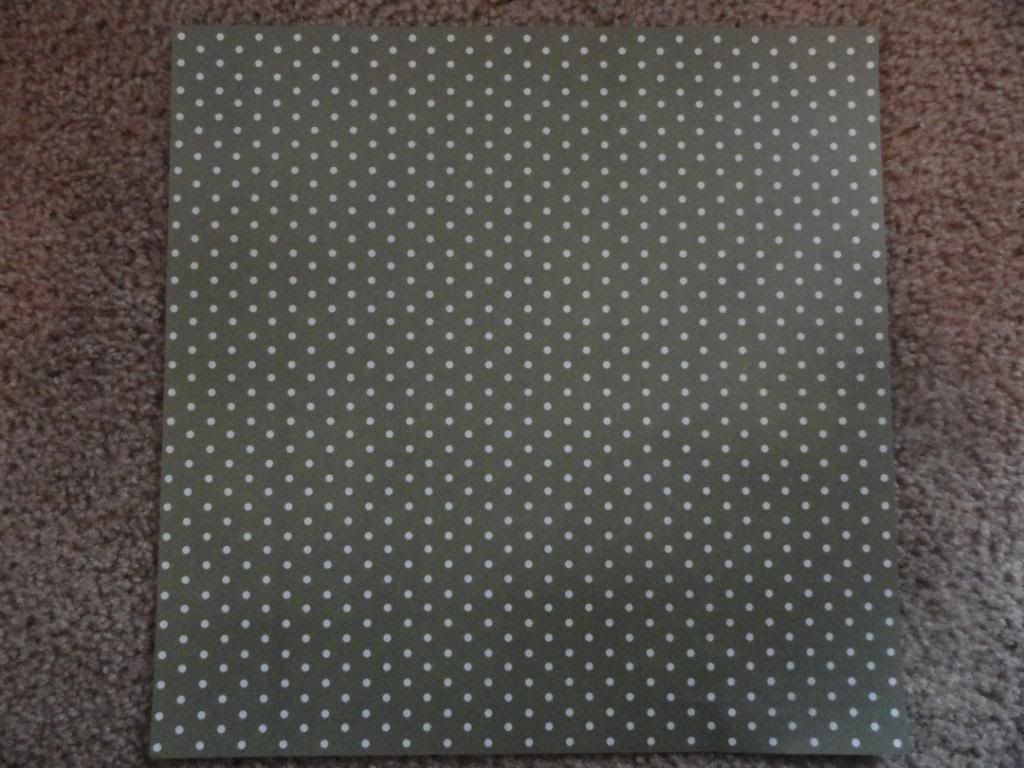
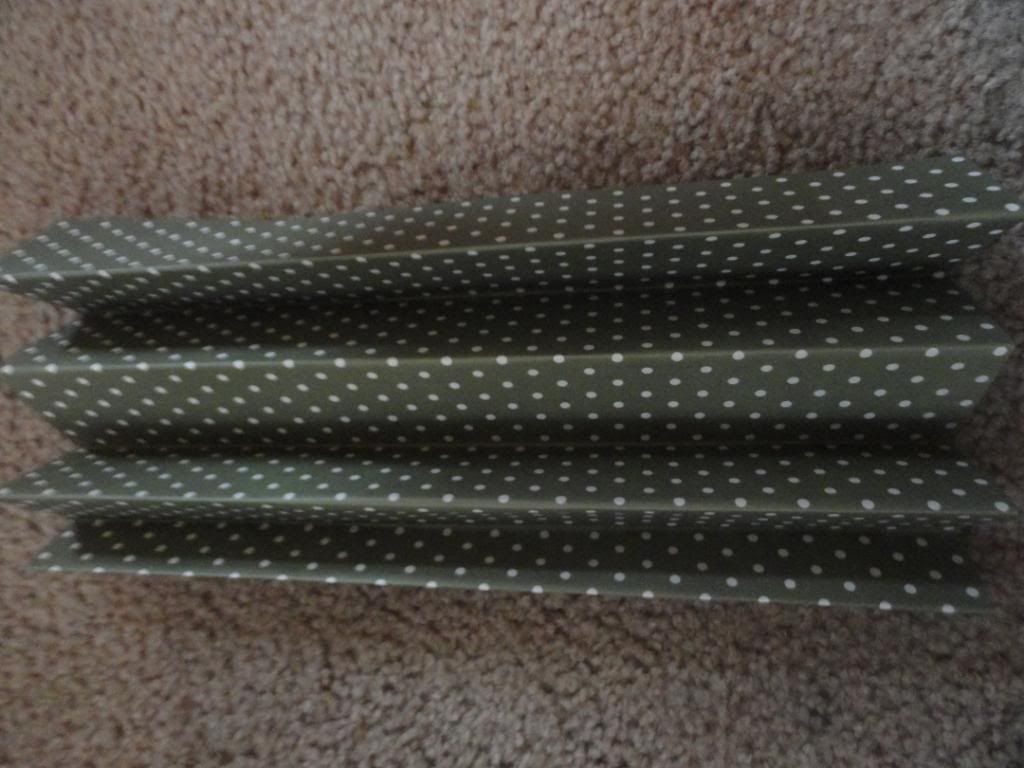
Stop by your local craft or scrap-booking store and pick up some  12x12 sheets. You will need 2 pieces per spinner so plan accordingly. You will also need a stapler, needle, scissors and either fishing line or string to complete this project.

Photobucket

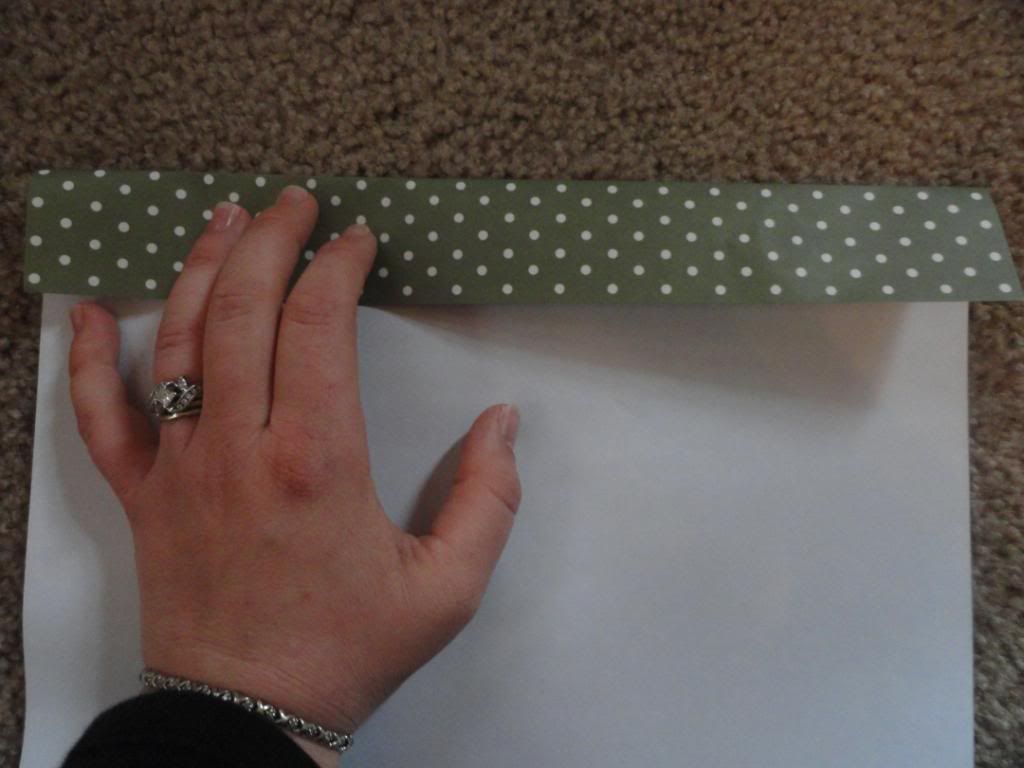
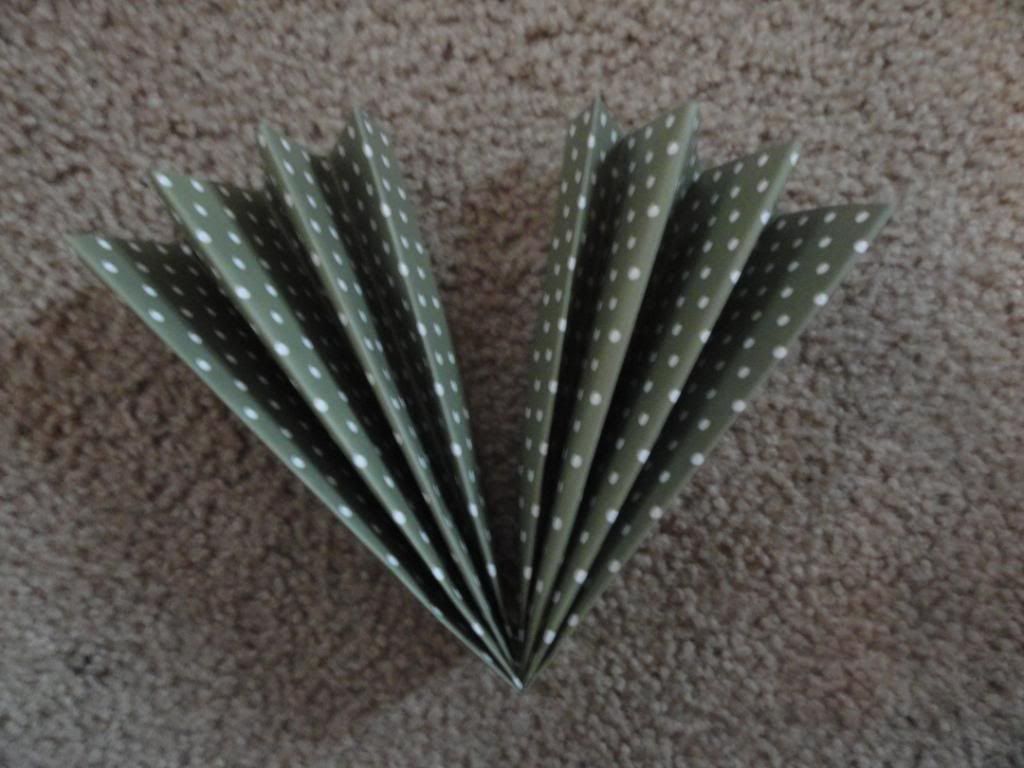
First start out by turning your sheet of paper over, putting the design side down. Next you will want to accordion fold your paper about 4-5 times

Photobucket

Photobucket

Once both sheets are folded, fold each sheet in half, like shown below

Photobucket


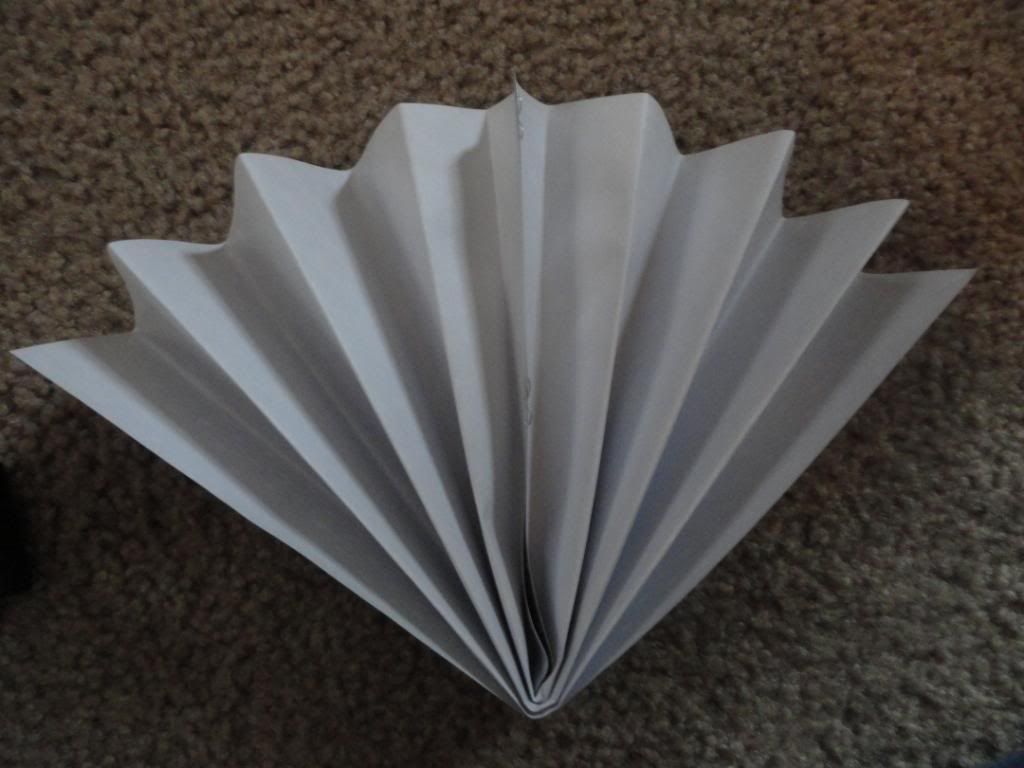
Now, staple the ends together on the back side


Photobucket

As well as staple the two pieces together. About 2 staples works for each section.

Photobucket

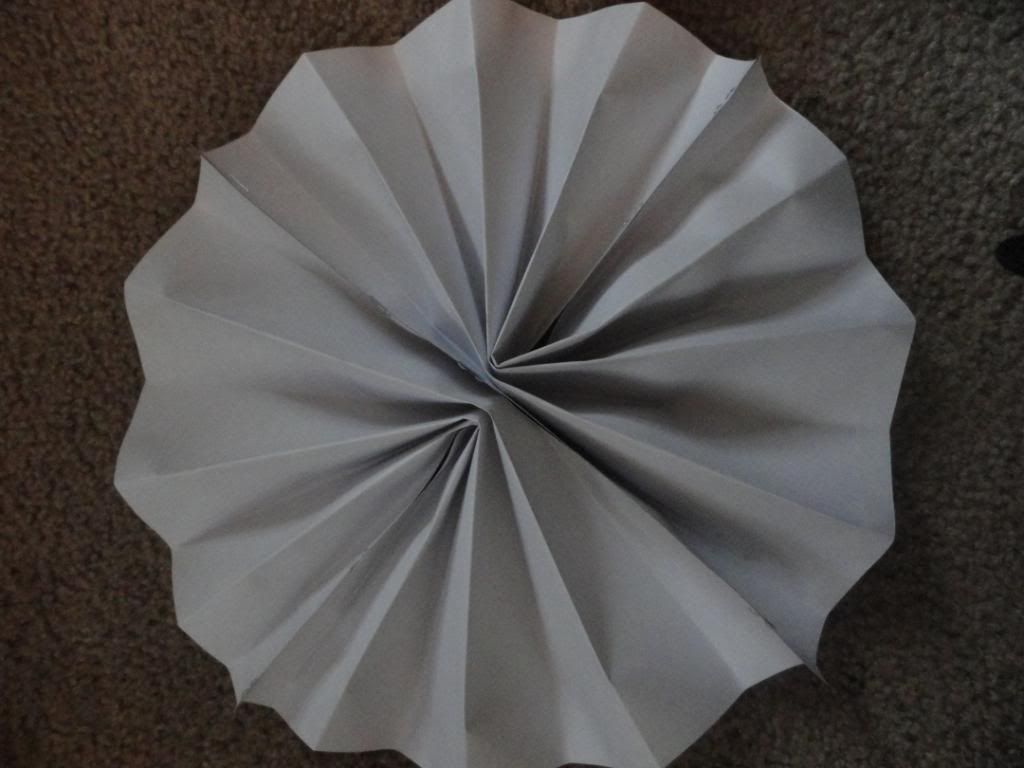
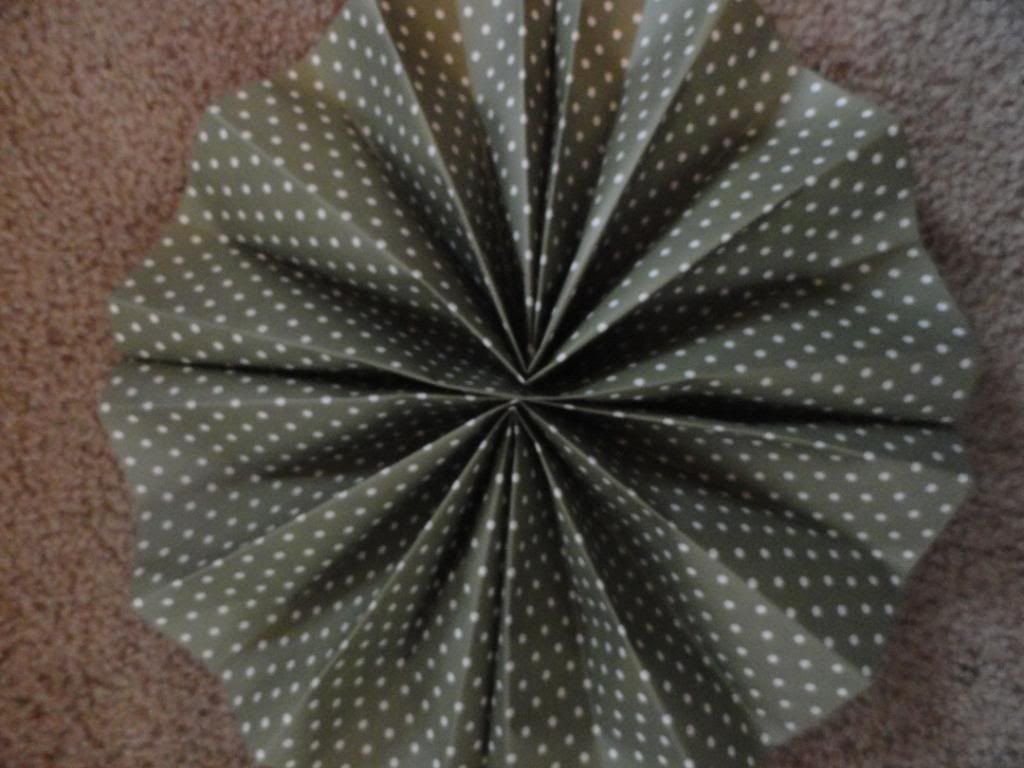
Turn it over and you have a beautiful spinner that you can use for all sorts of decorations!

Photobucket

Photobucket

Photobucket

If you 'd like to string them together for the backdrop, simply do this with your needle and thread/fishing line. I used the fishing line so it wouldn't show through on the front side and it worked great!
If you guys make these, send me your pictures! I'd love to see them.
Tuesday, December 13, 2011

How- To Tuesday: Write with Paint

Photobucket


And that's my How-To Tuesday.....................


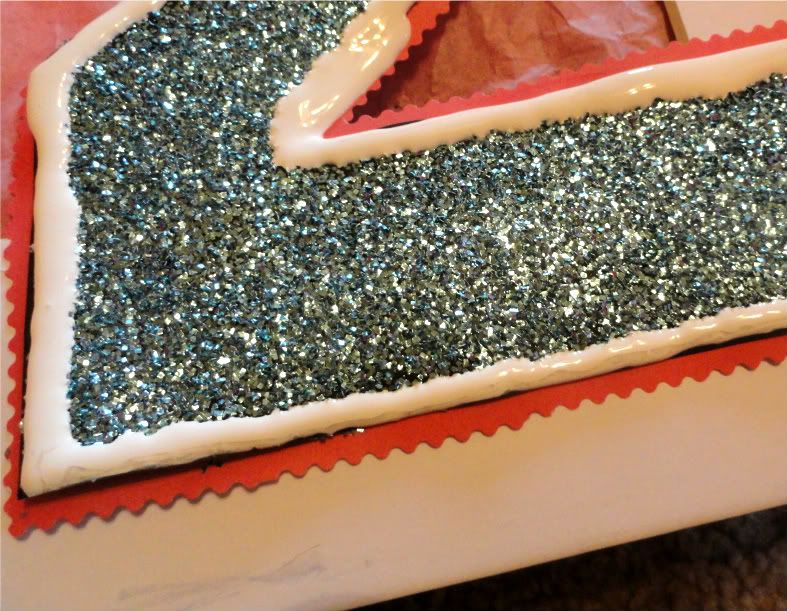
Ok, ok, you knew I couldn't just post a picture and be done with it....that's just not my style. Of course I had to blab about some project I'm working on. Well, I wanted to show you how just by using my tip up above I was able to outline some lettering...
Photobucket

I'm not going to show you exactly what it is just yet, because that will ruin the surprise. We are celebrating my daughter's second birthday this weekend and I'm getting so tickled inside making all the decorations. I can't wait to share them with you.

Just a quick note about the glue cap on the paint. I've also used this technique for writing on baby onesies or shirts. Works like a charm!


**Happy 7 Month Birthday to my baby boy today!**

Sunday, December 11, 2011

Weekend Wrap: Snowman Pancakes

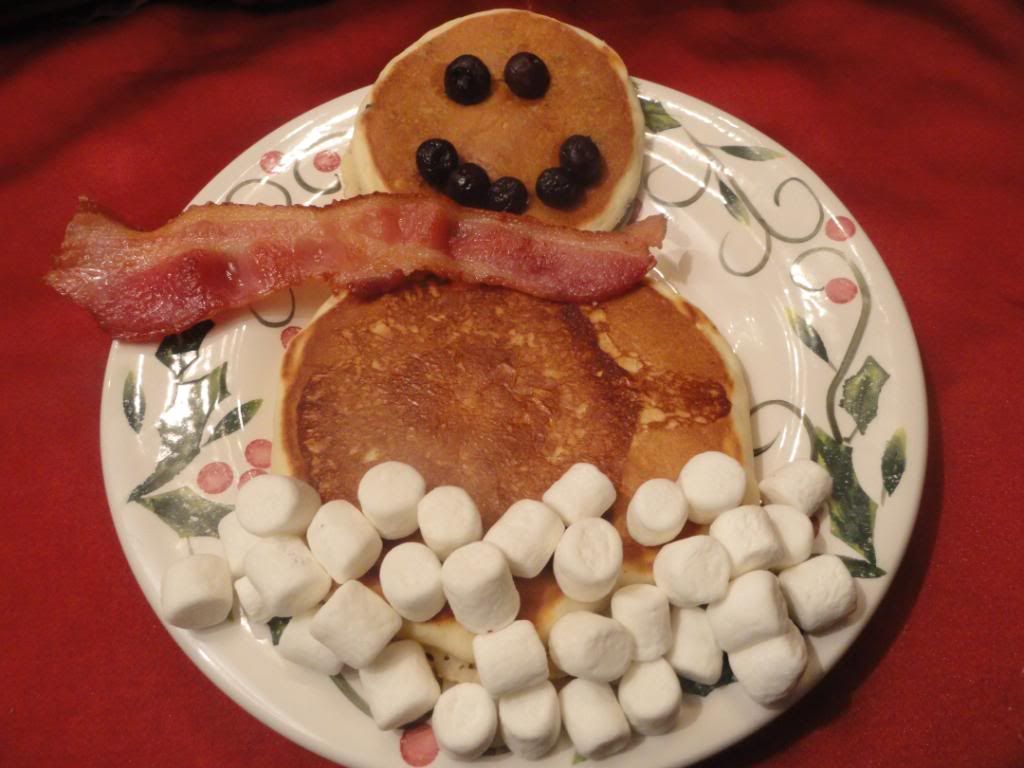
I have been dying to share my photos of our Snowman Pancakes. My daughter just loved them so much and although it doesn't snow here in the Phoenix area, we can still pretend we've got snowmen out front in the yard :)

Photobucket

Using two pancakes we formed the body of Mr. Snowman. Then while the pancake was still warm, I pushed in blueberries for his eyes and smile. Mini marshmallows for the snow base and a strip of bacon for his red scarf! So cute! 

Send me your pictures of your Christmas Wintery Breakfast to my Facebook. I'd love to see them.
Click Here For My Facebook Page

Thursday, December 8, 2011

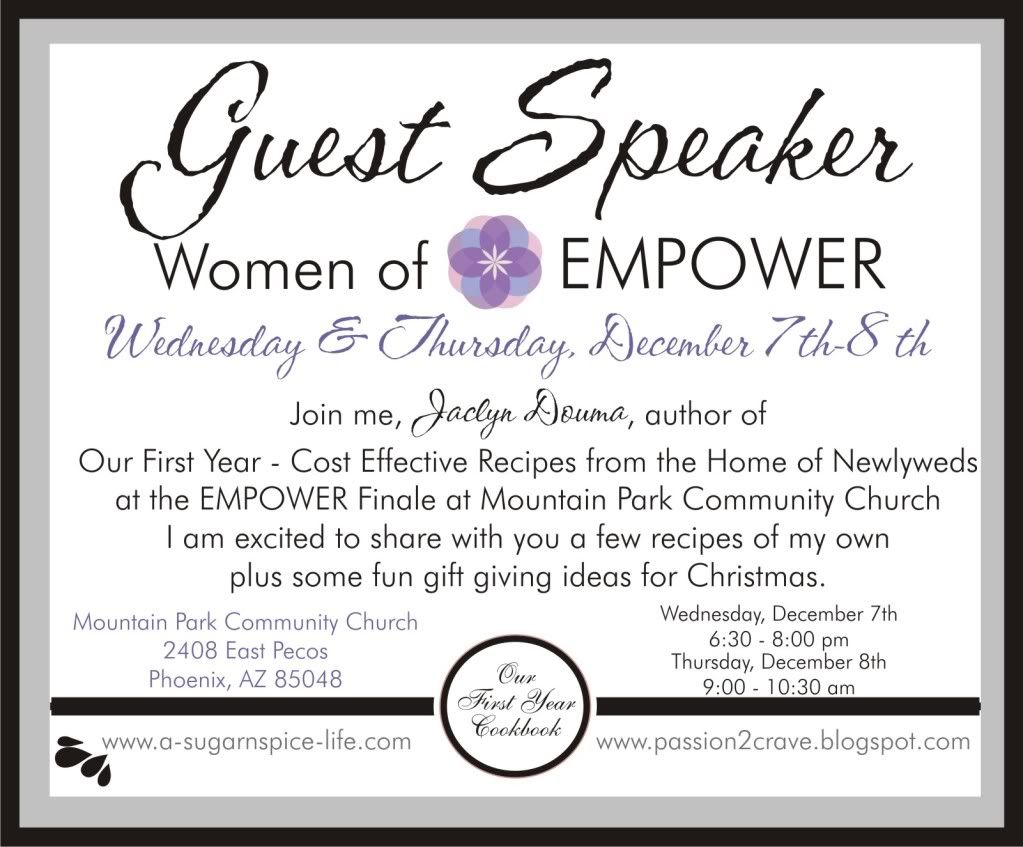
Guest Speaker - EMPOWER

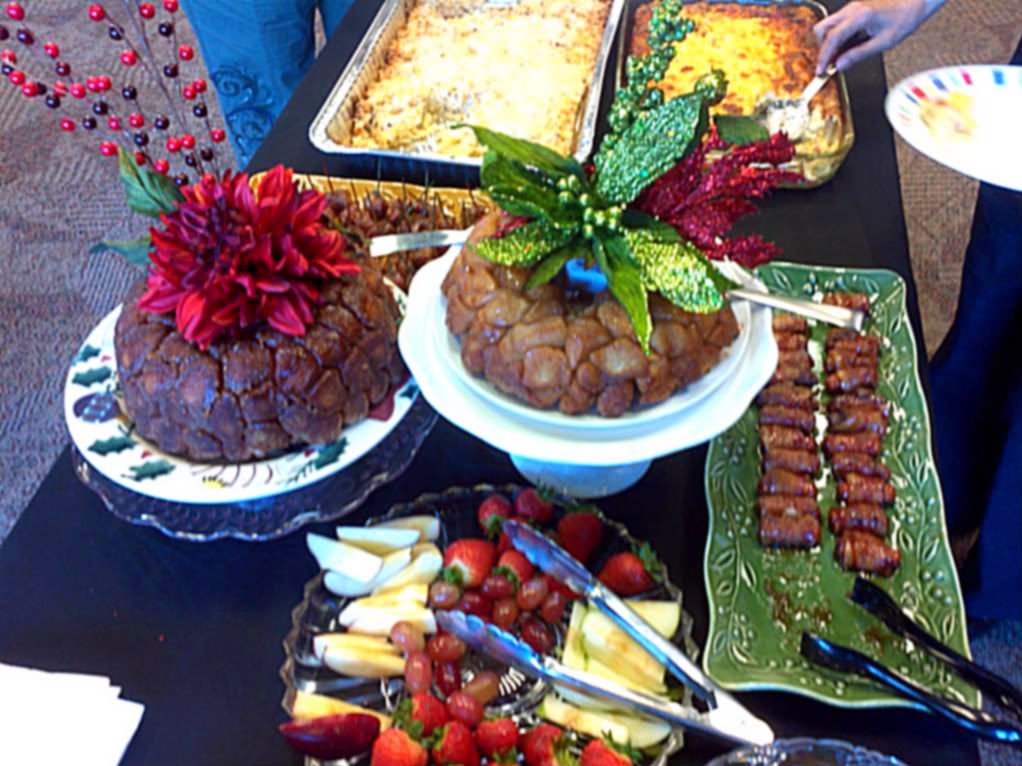
Like I mentioned this morning I had the wonderful opportunity to be the guest speaker for the women's group at my church, Mountain Park Community Church. Last night our group was about 20 women and today over 60 women enjoyed worship, a devotional and cooking demo for the EMPOWER finale!

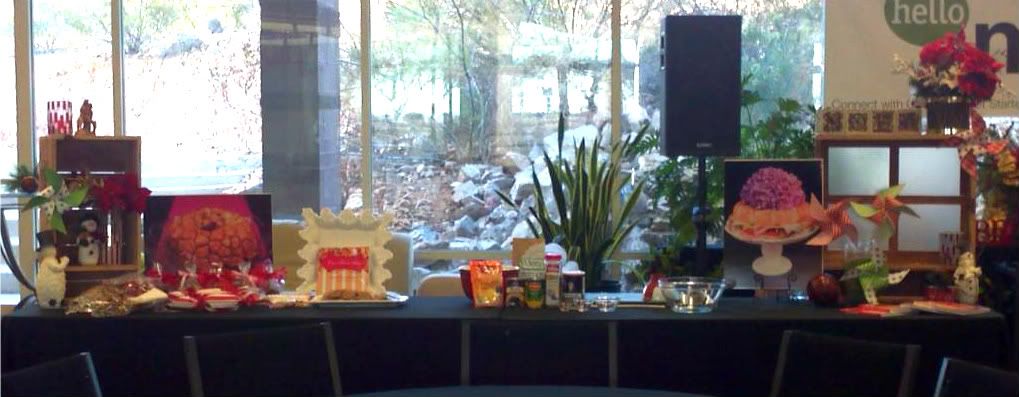
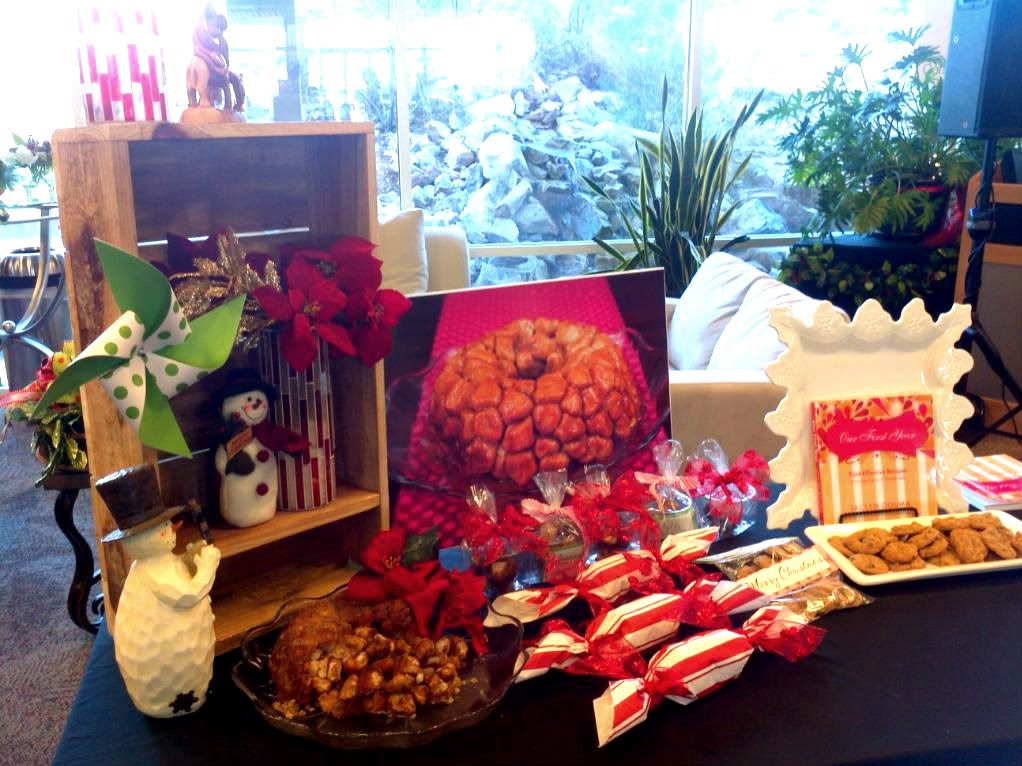
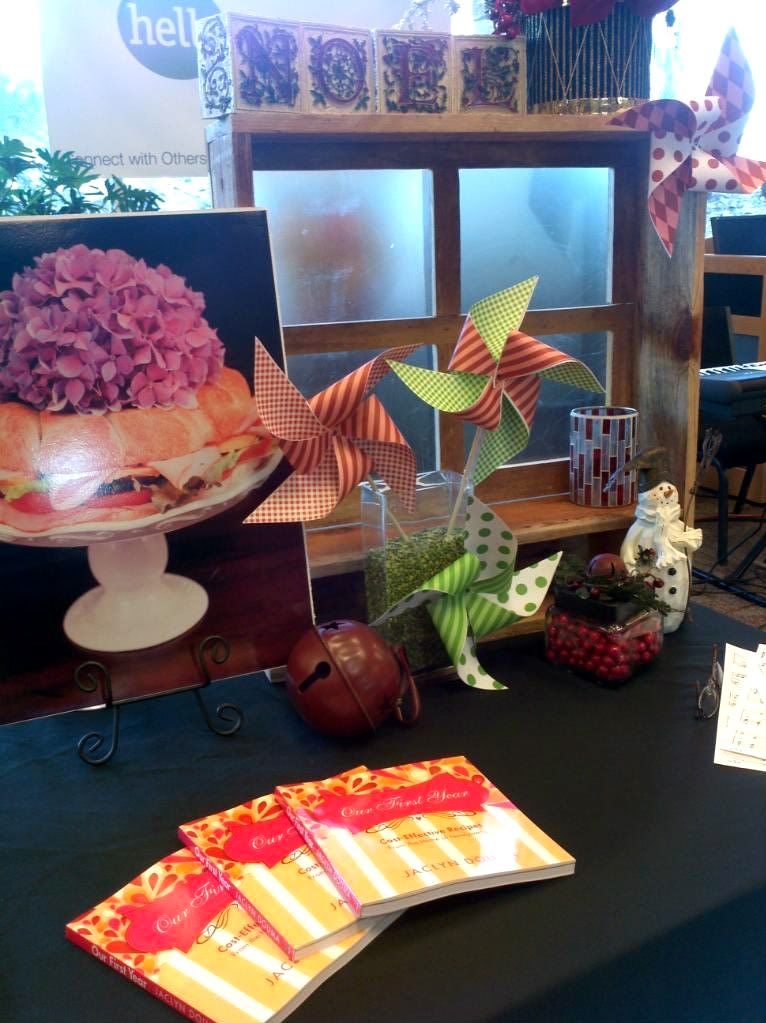
We had such a wonderful time and I loved sharing my gift giving ideas and recipes! All of the women who brought in treats from my cookbook - THANK YOU! You guys were awesome! Here are a few photos from today. (taken on my tablet -- not a new fancy dancy camera- my camera's story)


Photobucket

Photobucket

Photobucket

Photobucket

Photobucket

Photobucket

Photobucket

Photobucket

Photobucket

Thankful Thursday: Guest Speaking

Good Morning! Do you have your cup of coffee yet? I do! It's early and it's chilly outside and I'm getting geared up for another wonderful day of Guest Speaking at Mountain Park Community Church. I am so glad that I was able to speak last night, which means, no set up this morning! Yeah.

I can't wait to post some pictures from the event, but I just wanted to make sure I stopped by for a quick second to say Good Morning to all of you and thank God for my gift of hospitality. I never dreamed that this would be my gift to share with everyone, but I am truly thankful for it. Don't get me wrong, I do get nervous before speaking engagements, book signings and the nerves do tend to flare a bit even for parties at my home, but the joy I see that overcomes people as they enjoy some of my food or decor fills my heart.

If you're up early and have a chance to swing by the church, come by, I'd love to see you

Photobucket

Wednesday, December 7, 2011

Woo-Hoo Wednesday: Pinwheel Mania

It's Wednesday! And tonight I have my speaking engagement with the EMPOWER Women of Mountain Park Community Church in Ahwatukee Arizona. I am so anxious to share with them a few of my recipes, plus some gift idea's I've been working on. If you get this blog post in time you should stop by...or plan to come over tomorrow morning when I demo again for the morning gals!

Photobucket

In preparation for my demo, I started making some pinwheels, which I am absolutely in love with. PLEASE remember, my camera broke...well it's in rehab right now....so the pictures were taken with my tablet. I'm crossing my fingers Santa comes early this year and brings me a new one. 

  I started making these pinwheels for my book release parties back in August and have been obsessed ever since. In fact, you'll probably see some at my daughter's 2nd birthday party coming up too! I did my best at taking some step by step instructions so you can join in on the fun too! Here we go:


Photobucket

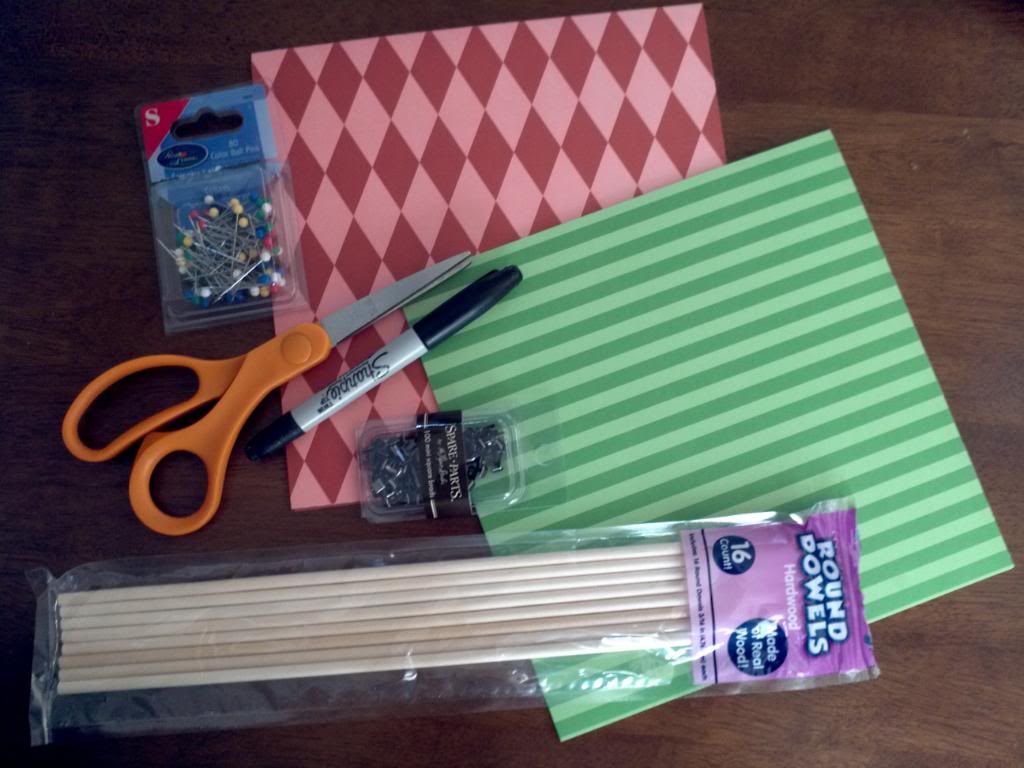
Supplies:
2 sheets of 8x8 inch paper - color of choice
Scissors
Pen/Marker
Ball Pin Needle
Brad's of choice
Ruler (although not shown, because I could not find mine)
Wooden Dowels (optional)
Hot Glue Gun (optional)

Photobucket

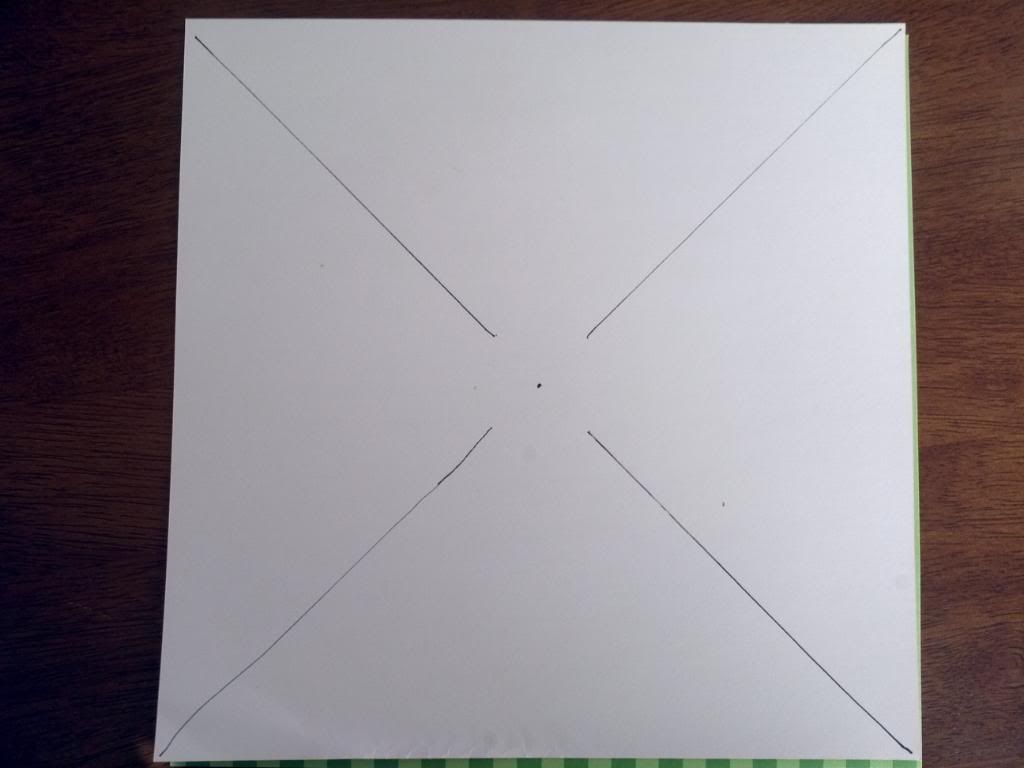
Using your ruler, mark the center of the paper with a dot. Then draw a line from corner to corner leaving about 3/4 inch gap between the dot and your line. Do this the opposite direction as well as I have shown.

Next, line your two pieces of paper together and cut along the lines you have drawn.

Photobucket

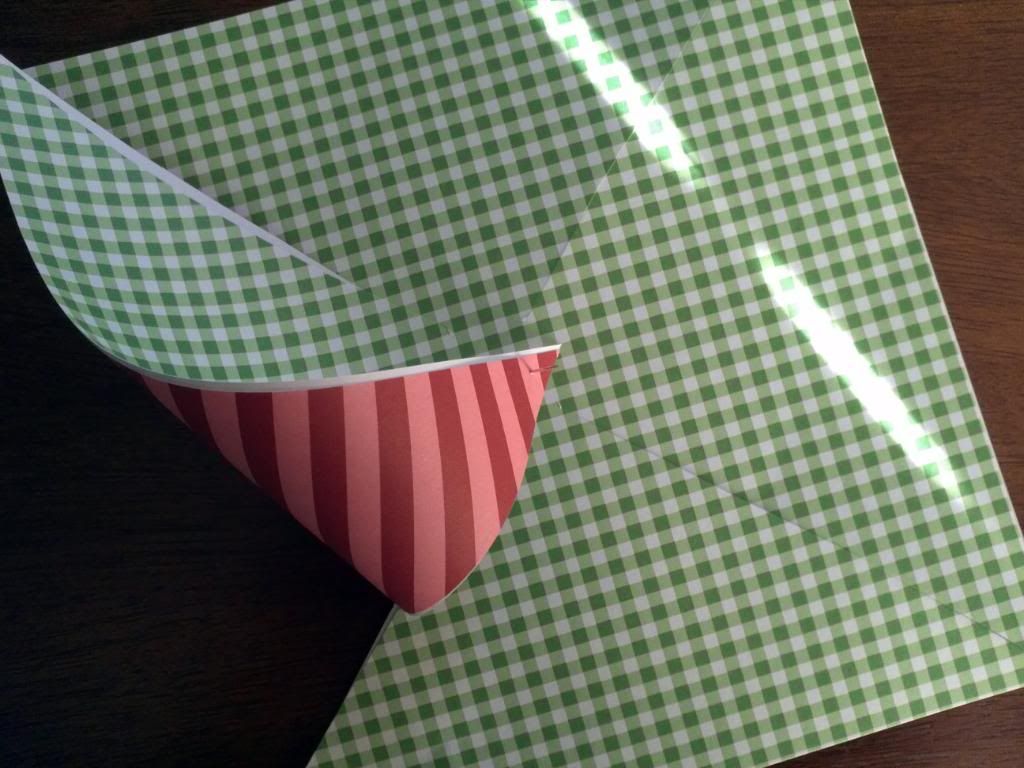
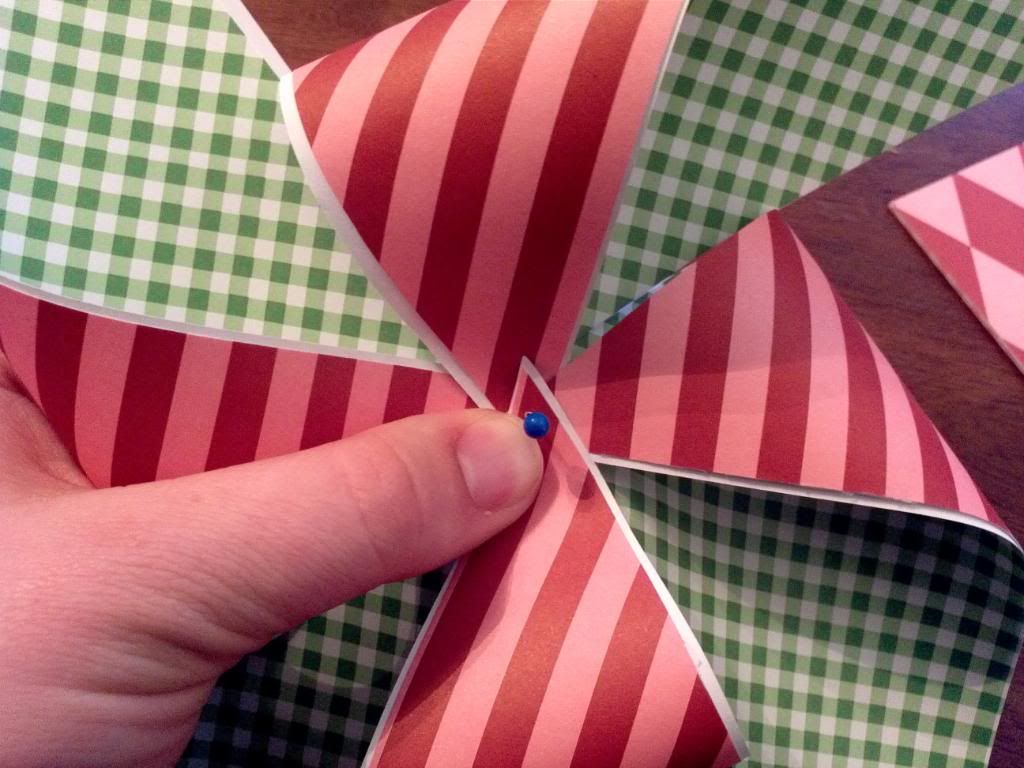
Now lay your papers so the printed sides are on the outside. Using your needle, prick the center of the paper all the way through both pages. Then take the right corner of each cut section and prick it through the needle, as shown.

Photobucket

After each section is pricked through the needle, remove the needle (but hold each section down with your fingers) and push the needle back through the hole but on the front side. (see photo). You are going to want to wiggle the needle all around making a nice hole in order to push your brad through.

Photobucket

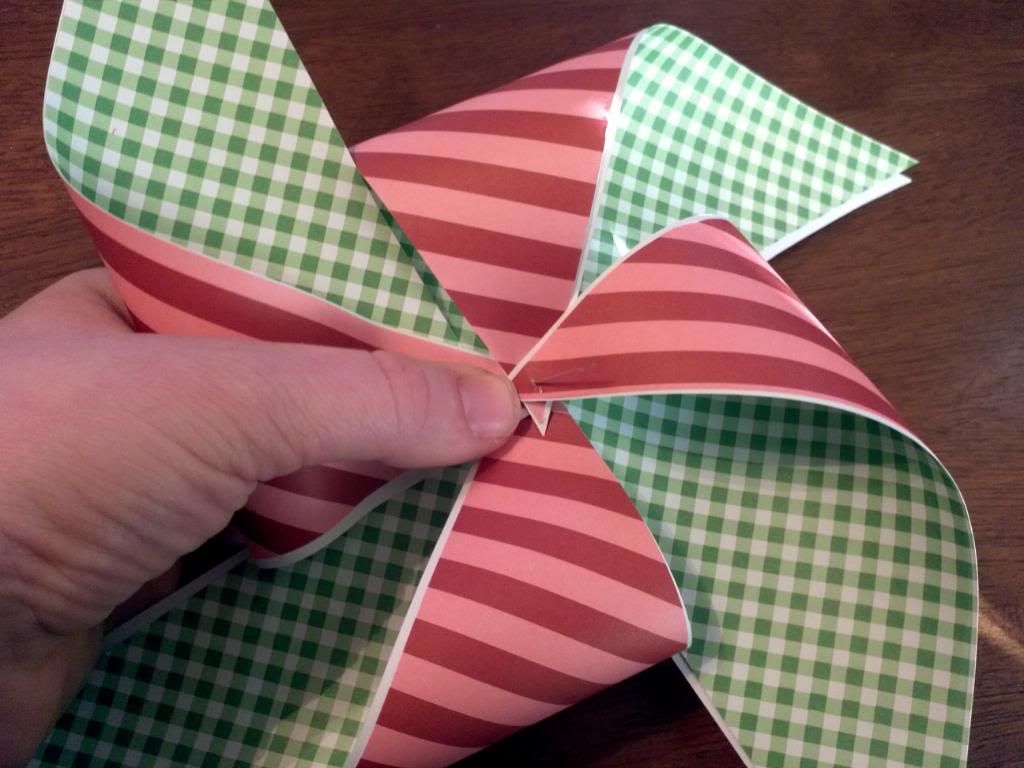
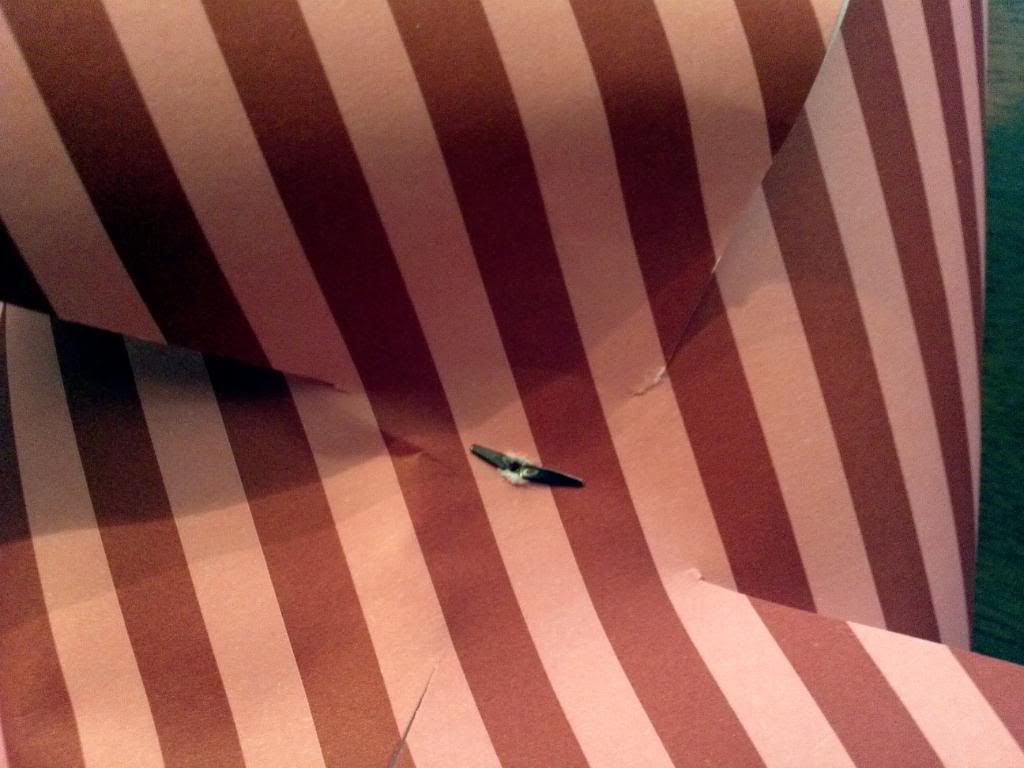
Now using both hands, push the brad through the hole and flatten the back side.(oh yes, and remove the needle)

Photobucket

Photobucket

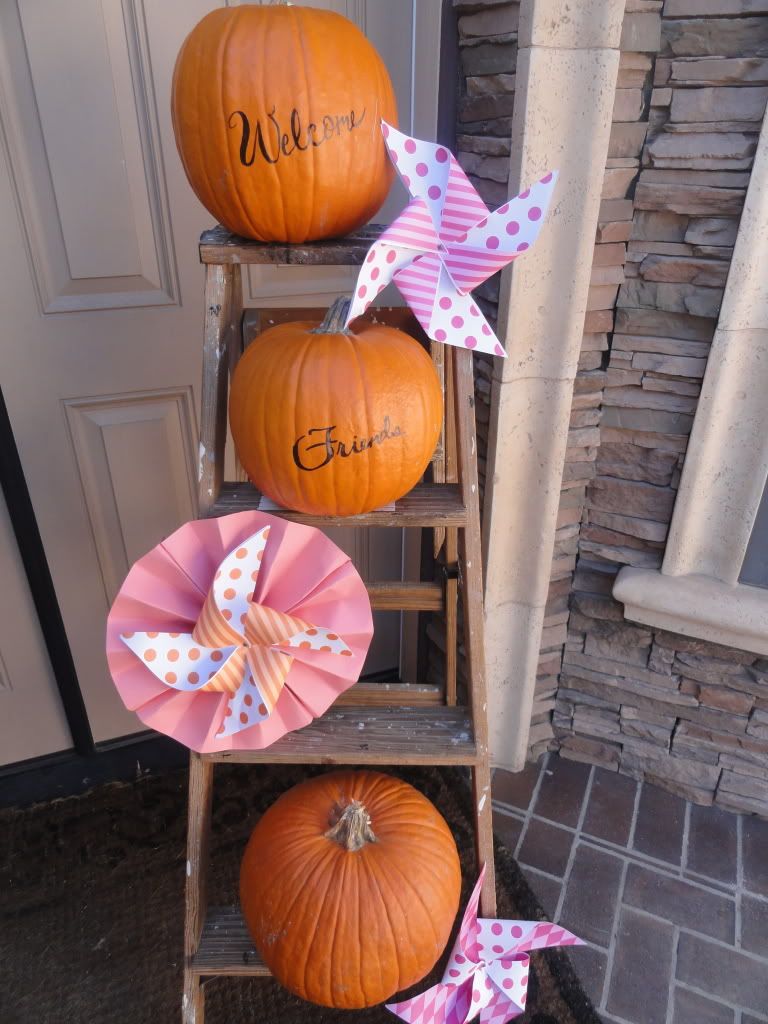
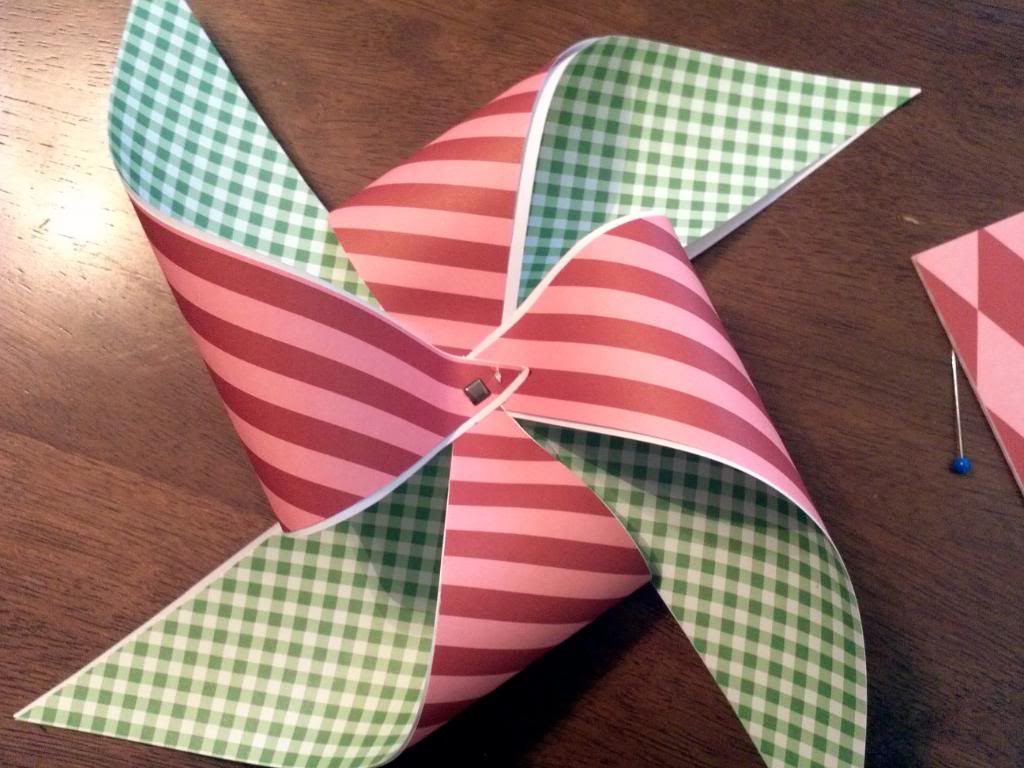
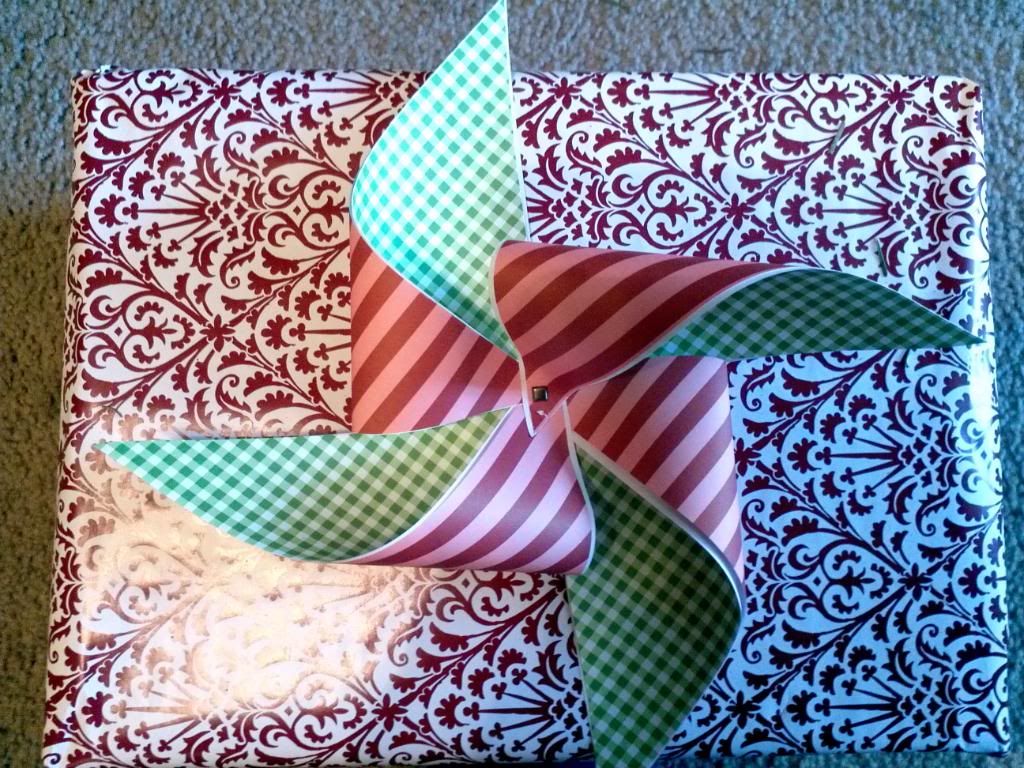
Now you have a beautiful Pinwheel that you can definitely add to any decor or gift to give some extra personal jazz!


Photobucket

I wanted to also show you how cute they are on the wooden dowels, but since my tablet wasn't capturing the true beauty of them I'll post some pictures from my release party where I used them on the dowels. I think these would be so cute for a little girls summer party and attach some ribbon fly-away's coming down from the pinwheel. So cute!

To attach the wooden dowels add a bit of hot glue to the back of your pinwheel and press the stick down. Allow to cool for a few minutes. 


Photobucket

Photobucket


Have fun!