
...you know the slow motion part in movies where the good guy tosses his partner a gun and it's revolving slowly until he catches it? Or that part where you hear the loud, "nooooooooooooooo" and the actors mouth is stuck in an "I'm about to eat a banana" position and it sounds real low and deep? (Seriously people, I can imagine these things as I type...so hopefully you're following along). So, as slow as slow motion, but as fast as "I can't even think let alone react" this happened so fast and PLOP! - My camera fell directly into my full cup of water still sitting in my cupholder! PLOP!
PLOP!
Really? Plop?!
Yep, Plop.
As fast as it went plop is as fast as I snatched it out of the water and ran into the house, comforting it like a wounded puppy. I dried off the outside, removed my battery and SD Card and immediately went to the most knowledgeable and reliable resource I have - FACEBOOK! (Ok -- I'm lying when I say its my most knowledgeable and reliable source...but I did seek out my friends on FB).
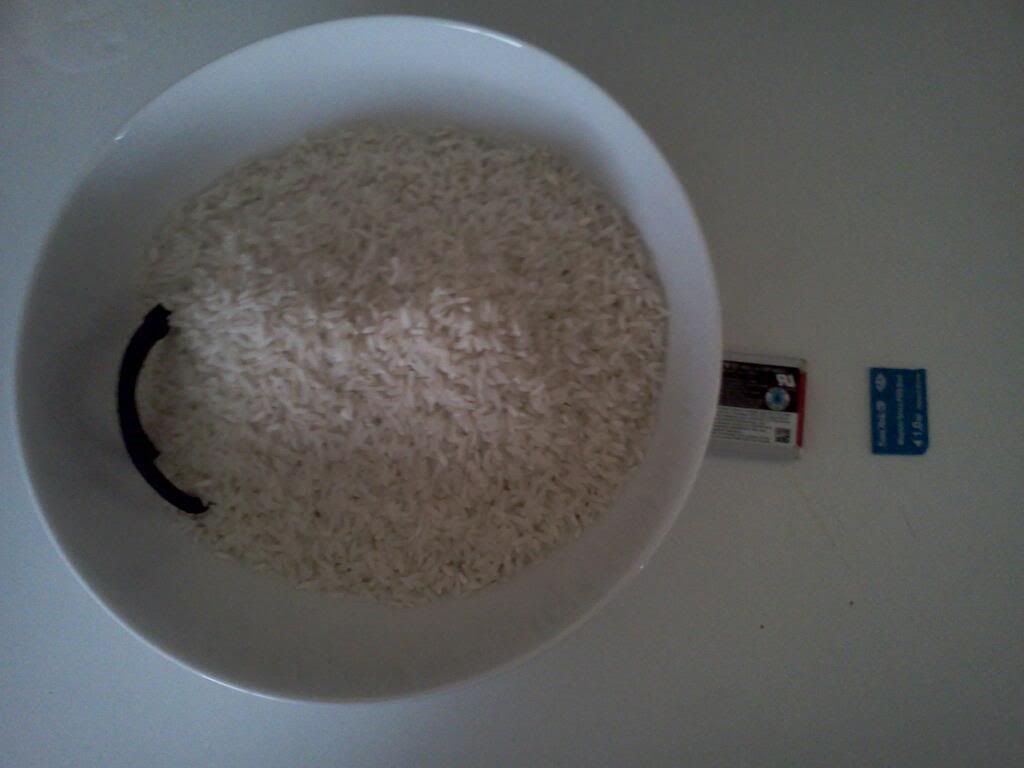
Their advice - Rice - Cover the camera in rice and let it sit for 3 days.
3 days? Yes - 3 days -
So there it is -- sitting in rice
I am so sad about this. Anyways, since my camera is still out of commission, the pictures for tomorrow post are a little grainy since I took them on my XOOM. It does have a flash though, which is a step up from my phone, so yeah for that! And yeah for technology!
Ok - now on to my Artisan Bread shpeal - That's why you came here right? Not to hear about my poor, lonely camera - sitting all alone in that white rice, more than likely never to see the light of day again - Overboard? Ok maybe a little.
Artisan Bread. Have you ever made it? I hadn't, up until about a month ago when my dear friend Rachel opened my mind and led me into this heavenly world of homemade bread! I have already informed her that when, not if, but when I gain 20 extra pounds, it will all be her fault - and the Artisan Bread!
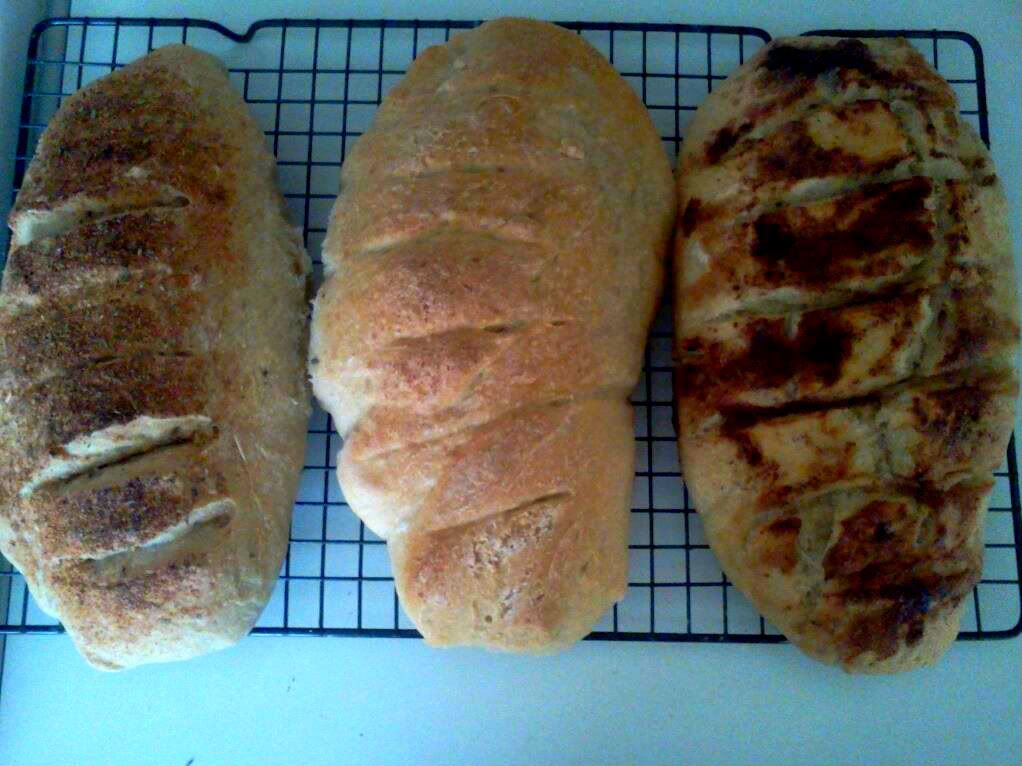
I've already made it several times and started adding a bunch of extra flavor of course too! My first batch I made it just like her instructions, but the 2nd time I added seasoning salt, Italian seasonings and garlic to one loaf and butter, cinnamon and sugar to another! All three were oh-so-amazing!
The recipe comes from the book: Artisan Bread in 5 Minutes a Day - written by Jeff Hertzberg and Zoe Francois, but a few minor things were changed while I made it.
This recipe is called The Master Recipe: Boule
3 c. lukewarm water
1 1/2 Tbsp yeast
1 1/2 Tbsp salt
6 1/2 c all purpose flour
Add yeast and salt to warm water, then mix in the flour. You know how usually you spoon in the flour and then level it off with a knife? Well, forget about that. Just scoop the flour using your measuring cup and swipe your finger over top. Then when you get to the 1/2 cup, you can just "eye-it" in your one cup measuring cup. Simple right? Mix all together until combined. Your dough will be very wet. You wont have to knead the dough either.
From the bowl, plop the dough into a larger lidded storage container. (I used my large plastic water pitcher with a lid.) Let the dough sit on your counter, in the covered storage container for about 2-5 hours. What's great is that you can kind of forget about it and go on with your other tasks.
After the first rise, punch it down (literally punch the dough with your fist a few times) and return the lid. Place it in your refrigerator. You can leave it in your refrigerator for as little as 3 hours or up till about 10-12 days. The longer you keep it in the refrigerator, the more sour dough it will taste, although I left it in for 3 days one time and it was pretty sour enough.
When you are ready to bake, take the dough out of the fridge. You will want to have your pan ready for where you will place your loaves. Now remember, this dough is very wet, so make sure to flour your knife and hands when handling the dough. Remove the dough from the sealed container and cut into three sections. Form each section into a loaf with your hands, trying not to handle it too much because there will be less air pockets, making the loaf more dense. Oh yes, I did spray my pan with cooking spray/Pam.
Once your three loaves are placed on the cooking pan, lightly dust the tops with flour. At this point, if you would like to season them please do so. Also, using a knife make about 4-5 partial slits to the top of each loaf. This will allow the loaf to rise and bake into a beautiful delicious loaf without any - well for lack of a better term - blow outs.
Cover the pan with saran wrap and let rise (on your counter) for 40 minutes. The bread will not rise much, but don't worry, you're still on the right track. After the 40 minutes, preheat your oven to 450 degrees. Place an empty broiler pan on the lower shelf. (FYI - do not use glass, it will shatter when you add the water, just trust me on this one.) When the oven is preheated, add 1 cup of water to the broiler pan and immediately stick the loaves into the oven, just above the lower pan, on the next rack. The water will create a moist environment in your oven giving you a crisp outer crust and soft loaf.
Bake for about 20 minutes. Remove from oven and let cool on wire racks.
Enjoy warm with butter and if you'd like some honey too!
(Disclaimer: Do not come back blaming me when you've gained your 20 lbs - It was Rachel's Fault!)
No comments:
Post a Comment