

In preparation for my demo, I started making some pinwheels, which I am absolutely in love with. PLEASE remember, my camera broke...well it's in rehab right now....so the pictures were taken with my tablet. I'm crossing my fingers Santa comes early this year and brings me a new one.
I started making these pinwheels for my book release parties back in August and have been obsessed ever since. In fact, you'll probably see some at my daughter's 2nd birthday party coming up too! I did my best at taking some step by step instructions so you can join in on the fun too! Here we go:
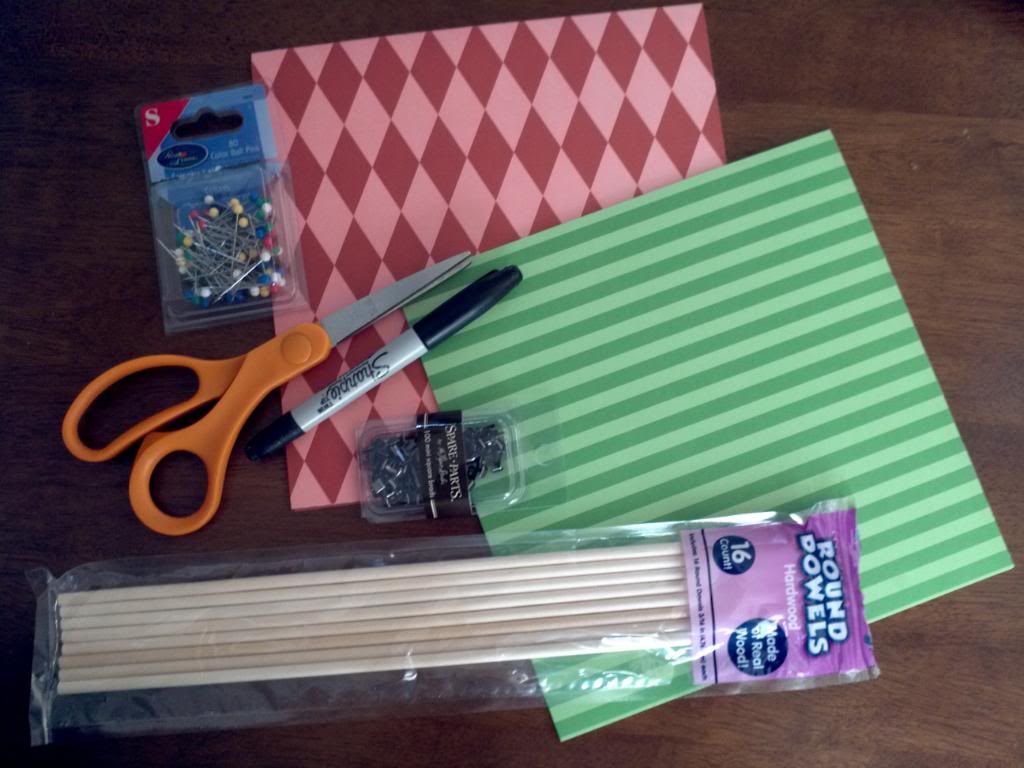
Supplies:
2 sheets of 8x8 inch paper - color of choice
Scissors
Pen/Marker
Ball Pin Needle
Brad's of choice
Ruler (although not shown, because I could not find mine)
Wooden Dowels (optional)
Hot Glue Gun (optional)
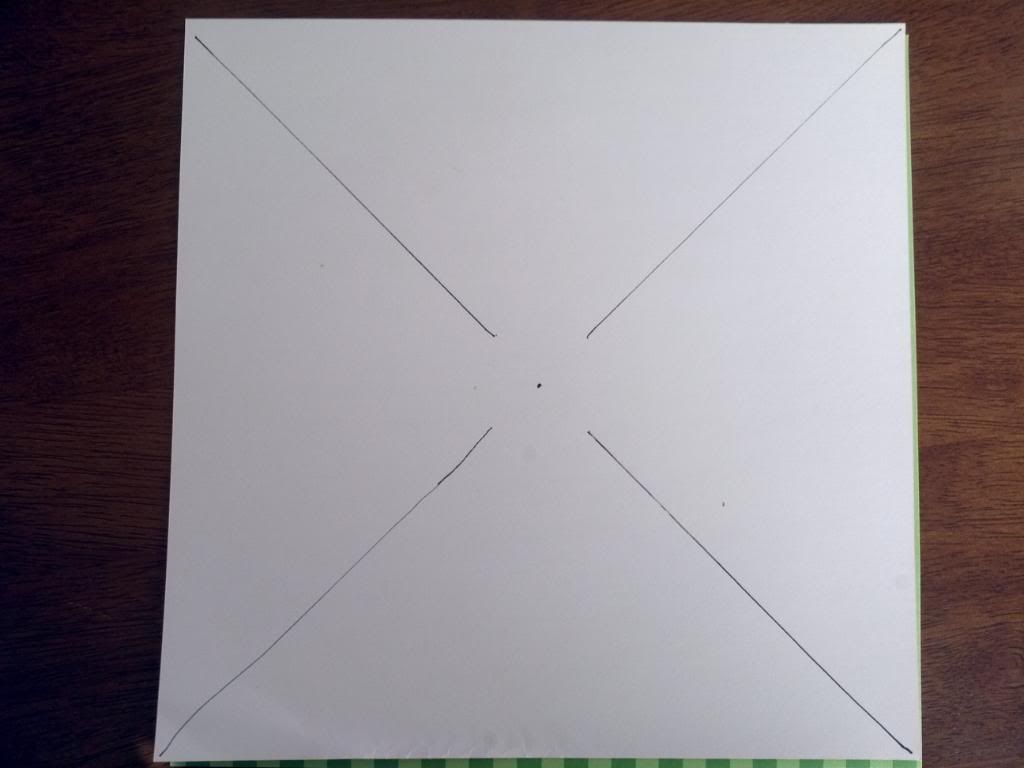
Using your ruler, mark the center of the paper with a dot. Then draw a line from corner to corner leaving about 3/4 inch gap between the dot and your line. Do this the opposite direction as well as I have shown.
Next, line your two pieces of paper together and cut along the lines you have drawn.

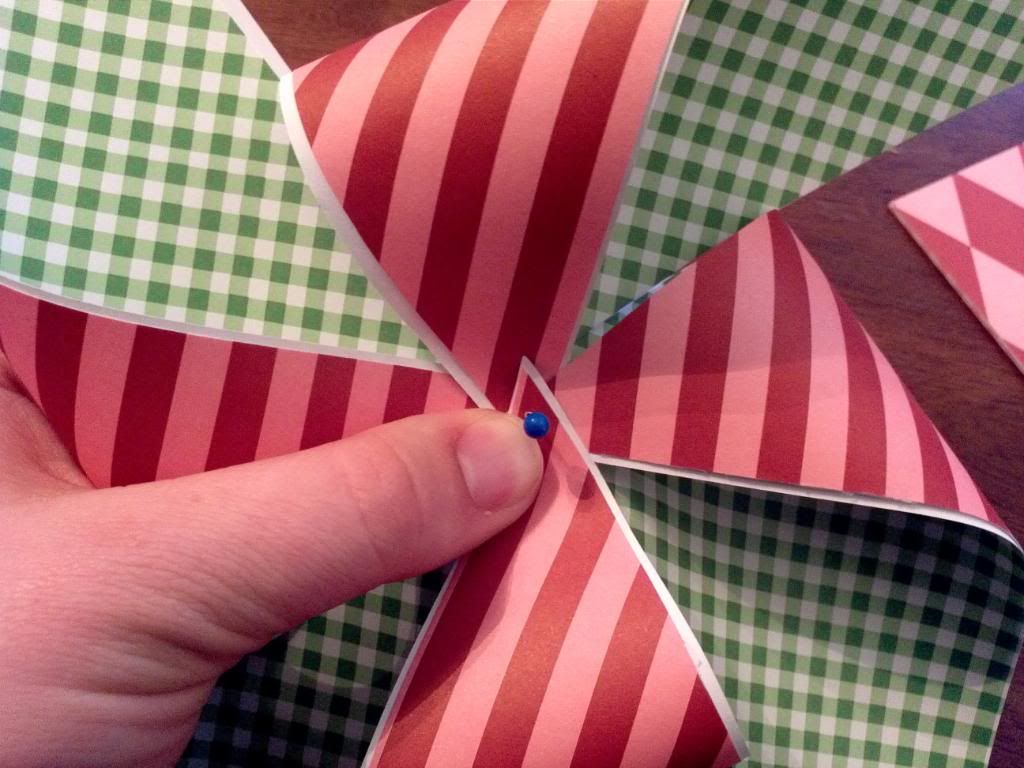
Now lay your papers so the printed sides are on the outside. Using your needle, prick the center of the paper all the way through both pages. Then take the right corner of each cut section and prick it through the needle, as shown.

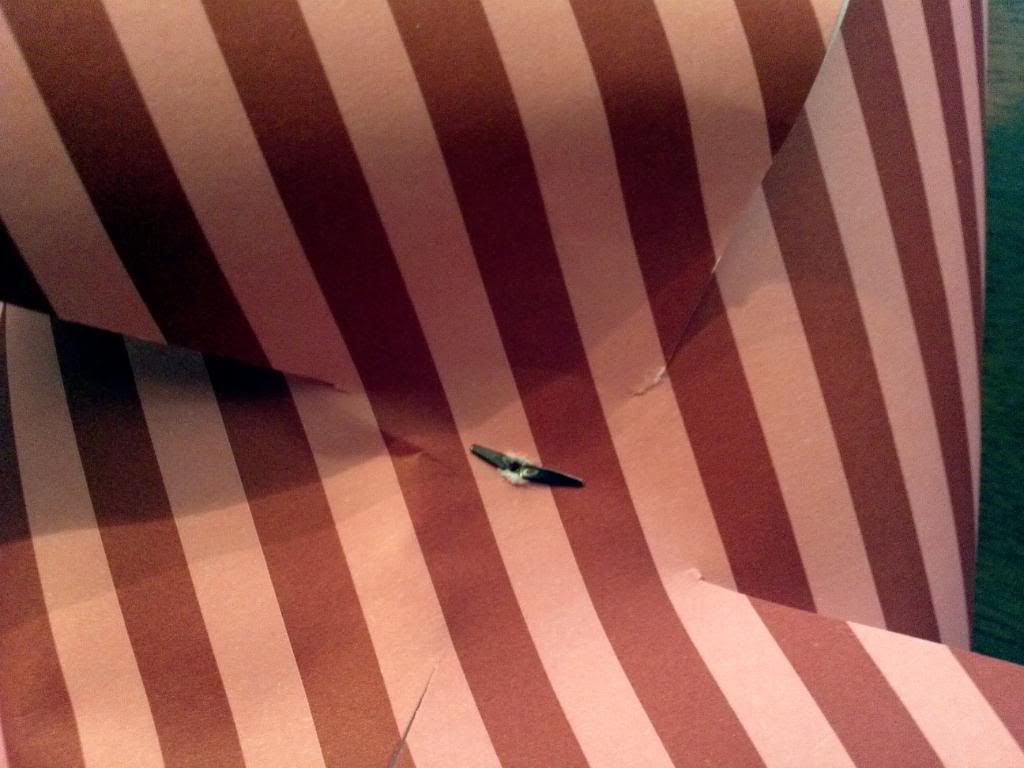
After each section is pricked through the needle, remove the needle (but hold each section down with your fingers) and push the needle back through the hole but on the front side. (see photo). You are going to want to wiggle the needle all around making a nice hole in order to push your brad through.
Now using both hands, push the brad through the hole and flatten the back side.(oh yes, and remove the needle)
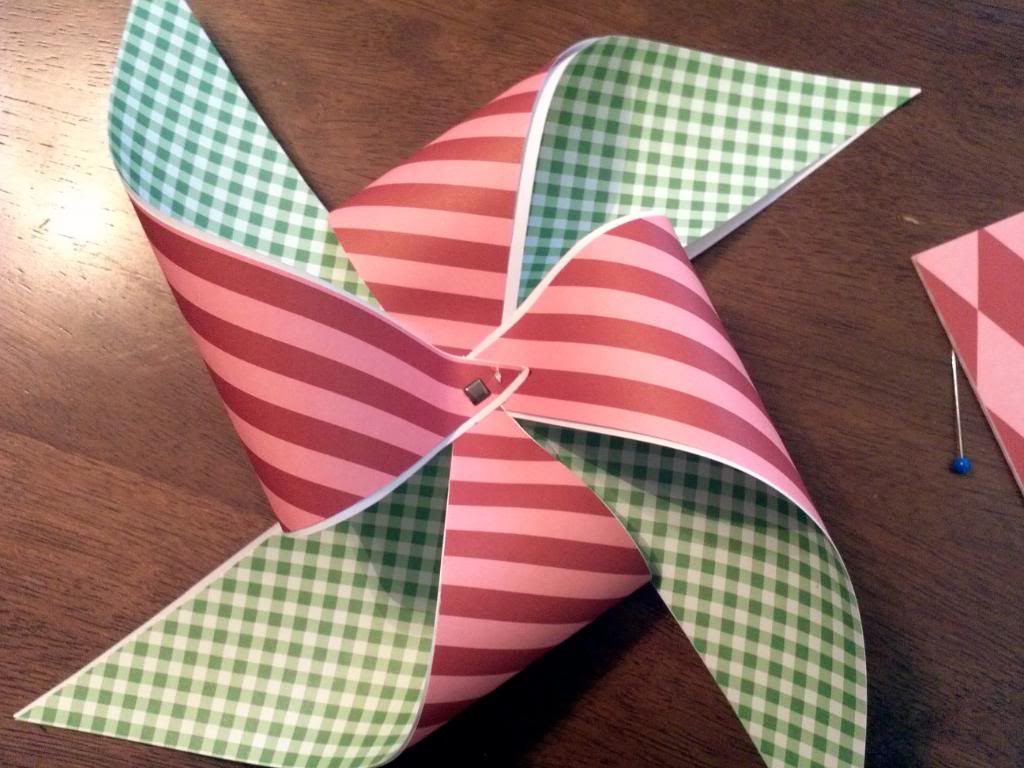
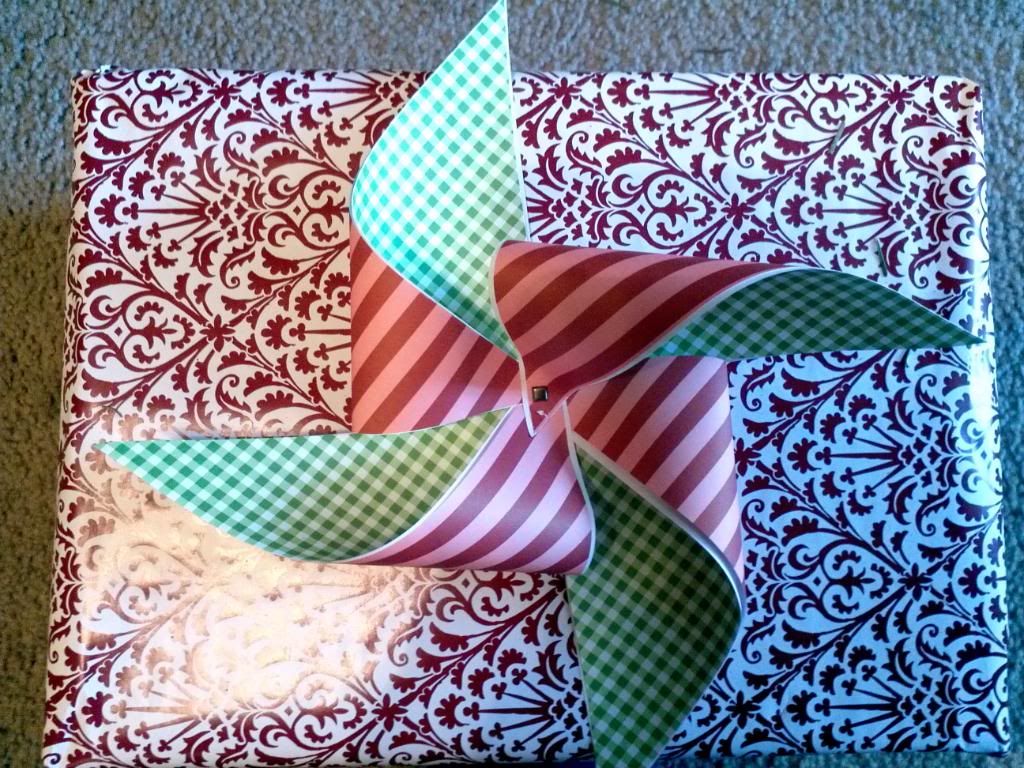
Now you have a beautiful Pinwheel that you can definitely add to any decor or gift to give some extra personal jazz!
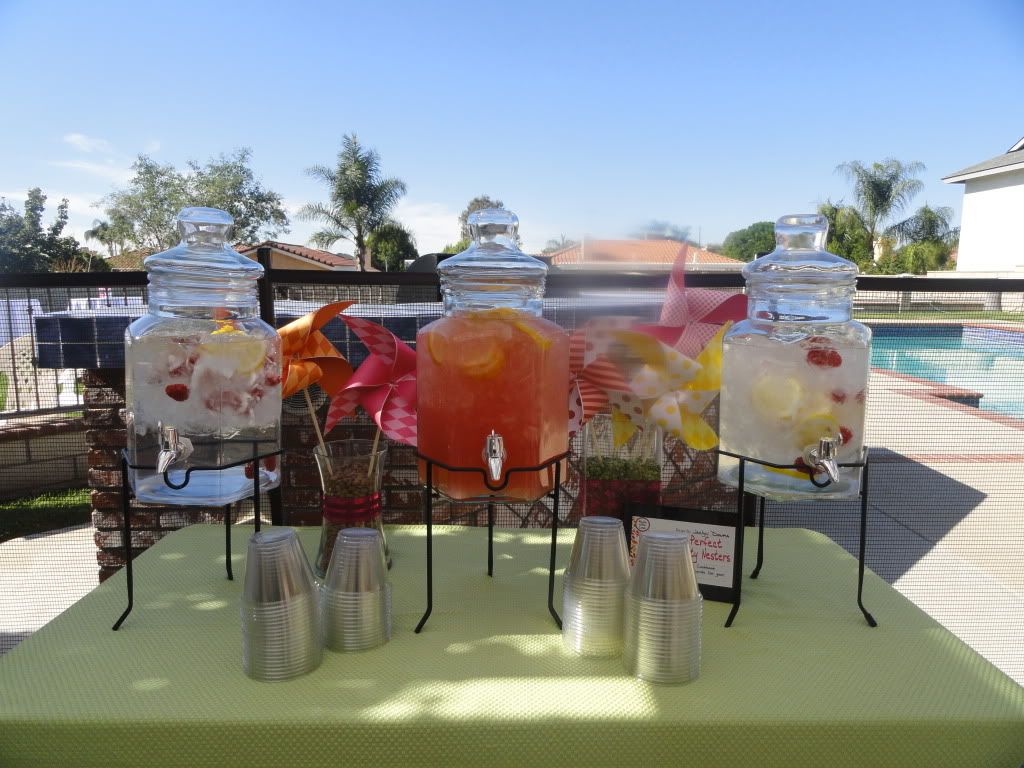
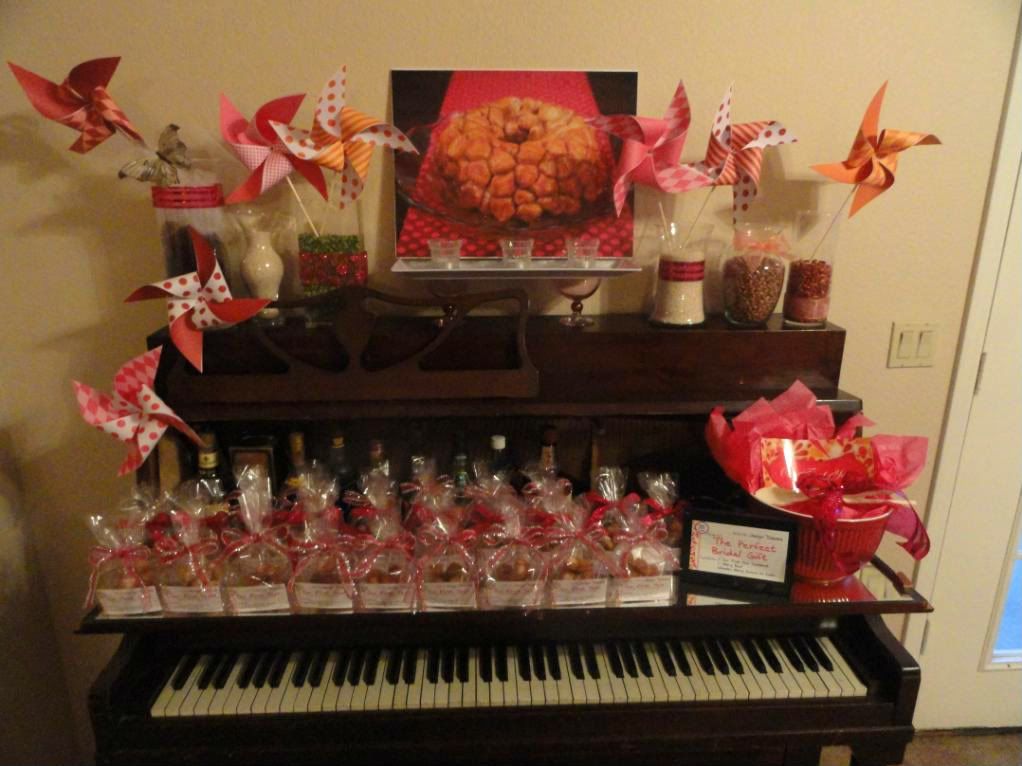
I wanted to also show you how cute they are on the wooden dowels, but since my tablet wasn't capturing the true beauty of them I'll post some pictures from my release party where I used them on the dowels. I think these would be so cute for a little girls summer party and attach some ribbon fly-away's coming down from the pinwheel. So cute!
To attach the wooden dowels add a bit of hot glue to the back of your pinwheel and press the stick down. Allow to cool for a few minutes.
Have fun!
No comments:
Post a Comment